

如果您想订阅本博客内容,每天自动发到您的邮箱中, 请点这里
那如何缩短数据与用户的距离?让用户一眼抓到重点?让老板为你的汇报方案鼓掌?
本文通过连环15关,层层深入,传你数据匹配图形神功,让数据可视化更。
无论数据总量和复杂程度如何,数据间的关系大多可分为三类:比较/构成/分布&联系。
基于分类/时间的数据对比,通常需用到比较型图表。用户通过图表轻松识别最大/最小值,查看当前和过去的数据变动情况。
常见场景:哪个地区的收件量最多?今年的收入和去年相比如何……
1. 条目少 – 柱状图
比较条目较少时,如5个地区收件量的对比,可选用柱状图表示。

△ 柱状图
2. 条目多 – 条形图
当条目较多,如大于12条,移动端上的柱状图会显得拥挤不堪,更适合用条形图。一般数据条目不超过30条,否则易带来视觉和记忆负担。

△ 条形图
3. 看趋势 – 折线图
当X轴为连续数值(如时间)且注重变化趋势时,则适用折线图。


△ 折线图
4. 扩大差异 – 南丁格尔玫瑰图
除柱状图外,有无更新颖的表现方式呢?那就属南丁格尔玫瑰图了。

△ 南丁格尔玫瑰图
由于扇形的半径和面积是平方的关系,南丁格尔玫瑰图会将数值之间的差异放大,适合对比大小相近的数值。它不适合对比差异较大的数值,因为数值过小的类目会难以观察。
此外,因为圆有周期性,玫瑰图也适于表示周期/时间概念,比如星期、月份。依然建议数据量不超过30条,超出可考虑条形图。
5. 双向 – 双向条形图
前面的例子都是单维度比较,当比较正反两类甚至更多维度的数据时,可尝试双向条形图,下图为各大区的重点地区的收派件量的对比。

△ 双向条形图
用颜色区分大区,空心/实心区分收件量和派件量,既能整体比较大区,又能详细对比地区的情况。
打怪升级,再加点难度。在双向图上再增加一个维度,如下表,比较5个地区的利润及相应的收入和成本。请先思考一下,再下滑看推荐图表。

△ 业务数据

△ 双向条形图(多维度)
通过图形一眼就能看出深圳区的利润低于广州区,即使它的收入高于广州区,但成本相对来说高于广州区。
6. 目标达成 – 子弹图
实际业务中,常要考察指标的达成情况,如收入达标情况及所处区间(优、良、差),如下表,你会怎么可视化呢?动手画一画吧!

△ 业务数据

△ 子弹图
子弹图,因为像子弹射后带出的轨道。相较于仪表盘,它能够在狭小的空间中表达丰富的数据信息,在信息传递上有更大的效能优势。
若还要比较4个季度的收入情况,只需用不同颜色区分。如下图,一眼便知第二季度表现较好,而第一季度则不佳。

△ 子弹图
7. 性能 – 雷达图
对于一些多维的性能数据,如综合评价,常用雷达图表示。指标得分接近圆心,说明处于较差状态,应分析改进;指标得分接近外边线,说明处于理想状态。

△ 雷达图
以上就是「比较」类的常用图表,可归纳如下。

此表并非一成不变的「铁表」,相互之间还会串联交叉,大家还需灵活应用。
部分相较于整体,一个整体被分成几个部分。这类情况会用到构成型图表,如五大区的收件量占比、公司利润的来源构成等。
1. 单层 – 饼状图
第1关中,对比5个地区的收件量时用到了柱状图。若看占比情况,饼状图更合适。

△ 饼状图
如果变成17个地区,会怎样?

像不像彩色七星瓢虫?
所以饼图分类一般不超过9个,超过建议用条形图展示。
除饼图外,环形图(甜甜圈图)亦可表示占比,其差异是将饼图的中间区域挖空,在空心区域显示文本信息,比如标题,优势是其空间利用率更高。

△ 环形图
2. 分层 – 环形图、旭日图
对于管理层而言,需先把握大局和重点。比如大区负责人需一眼看到重点地区及重点分部的情况(如下图),如何展示?

△ 环形图

△ 旭日图
这个叫旭日图,逐层下钻看数据,大区的重点地区及相应分部的构成情况一目了然。
3. 累计趋势 – 堆叠面积图
接下来,看看数值构成随时间变化的案例:第一大区(包含四个重点地区)近四年收入构成的趋势要如何可视化?自己想一想,再下滑看推荐方案。

△ 业务数据

△ 堆叠面积图
推荐方案是堆叠面积图,可以展现分量(地区)对于总量(大区)的贡献,并显示总量(大区)的变化过程。需要说明的是,地区收入的起点并非从 y=0 开始,而是在下面的地区基础上逐层叠加,最后组成一个整体。
4. 累计比较 – 堆叠柱状图
如果将上图X轴的标签文字(即年份)和图例(即地区)互换(如下图A),用来看每个地区近四年的收入构成,用哪个图更合适?


△ 堆叠柱状图
是不是觉得都可以?那图中 X1 有何含义?堆叠面积图 A 方案和堆叠柱状图 B 方案都可以表现累加值。差别在于,堆叠面积图的 x 轴是连续数据(如时间),堆叠柱状图的 x 轴是分类数据。此案例中的 x 轴是非连续的分类数据,因此用 B 方案更适合。
5. 累计增减 – 瀑布图
若想表达两个数据点间数量的演变过程,可使用瀑布图。开始的一个值,在经过不断的加减后,得到一个值。瀑布图将这个过程图示化,常用来展现财务分析中的收支情况。

△ 瀑布图
以上就是「构成」类常用图表,可归纳如下。

通过分布&联系型图表能看到数据的分布情况,进而找到某些联系,如相关性、异常值和数据集群。
常见使用场景:客户的年龄段分布?单票成本与收件量的关系?
1. 两个变量 – 散点图
仍以业务为例,下图为全国网点的单票成本/收入分布情况。

△ 散点图
单单这样看,可能看不出什么,如果加两条平均线就不一样了。

加了平均线,就知道哪些网点高于平均线,哪些低于平均线。但网点那么多,总不能逐个点击查看是哪个大区的,给散点加上颜色后,就很有意义了。

通过此图,可以看出哪些大区单票利润较低,急需提升,比如广泛聚集于右下角的第四大区,单票收入低于平均线,单票成本却高于平均线。
2. 三个变量 – 气泡图
大家都知道,网点总利润除了和单票利润有关,还和体量(即收件量)有关,用散点的面积大小表示收件量,就变成了气泡图。

△ 气泡图
3. 结合地图 – 热力图
气泡图与地图结合可演变为热力图。通过热力图,能看到哪些网点收派件量较多,需进行资源调配。

△ 热力图
以上是 「分布&联系」类的常用图表,可归纳如下:

当我们拿到数据后,先提炼关键信息,明确数据关系及主题,再选择合适的图表进行可视化。希望下图能给各位一些参考(结合可视化专家 Andrew Abela 的图表选择指南,进行了简化调整)。
数据可视化设计只要多练习、多总结,总有一天会得心应手。

蓝蓝设计( www.lanlanwork.com )是一家专注而深入的界面设计公司,为期望卓越的国内外企业提供卓越的UI界面设计、BS界面设计 、 cs界面设计 、 ipad界面设计 、 包装设计 、 图标定制 、 用户体验 、交互设计、 网站建设 、平面设计服务。
如果您想订阅本博客内容,每天自动发到您的邮箱中, 请点这里
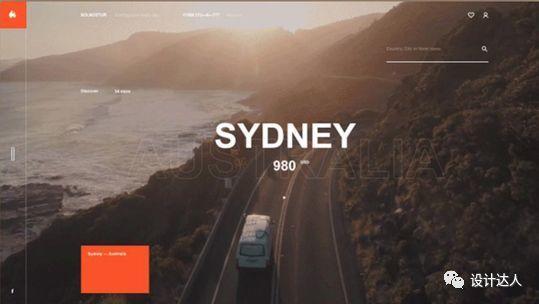
PS: 这些网页设计作品截图均来自@dailywebdesign的ins列表,所有作品并非在Dribbble获取,所以没有对应的作品集页面链接。
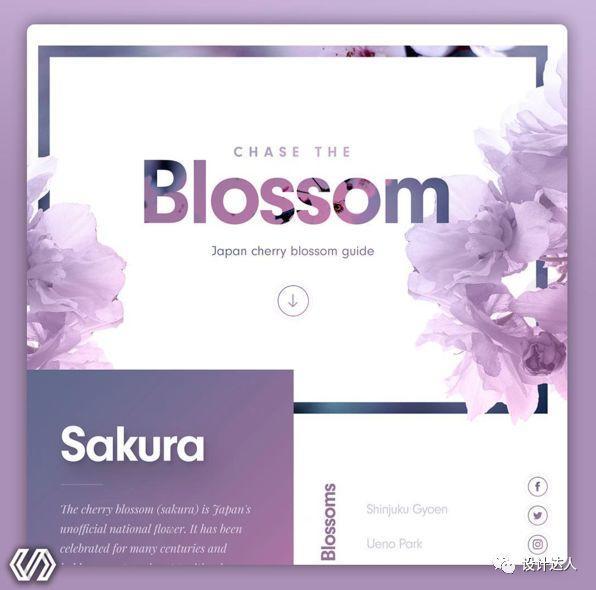
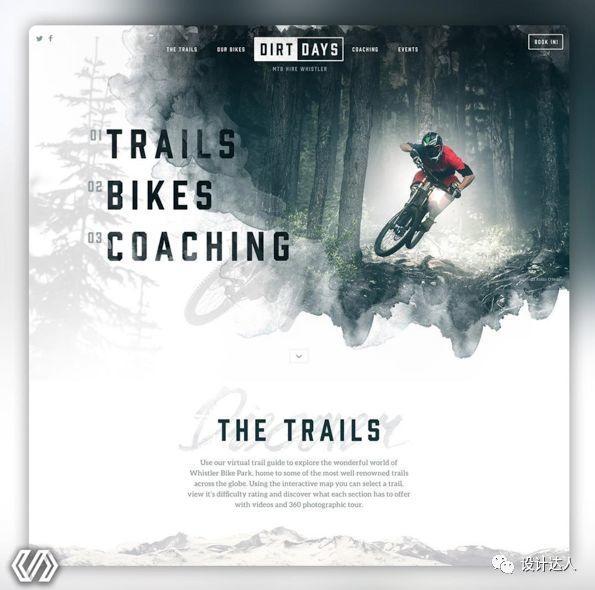
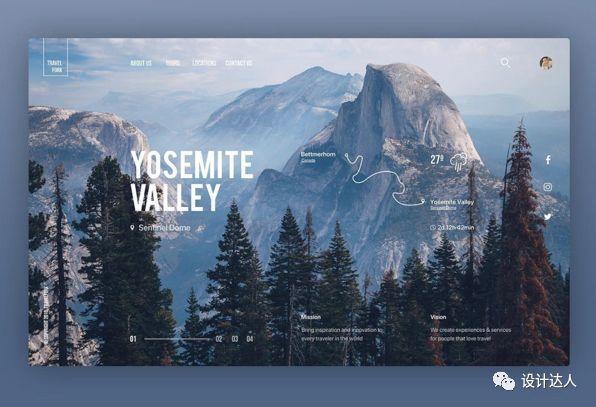
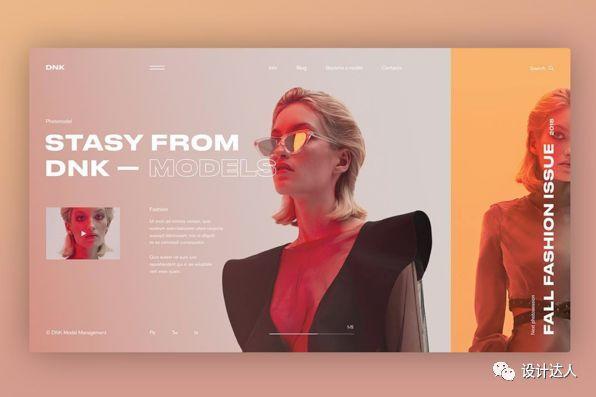
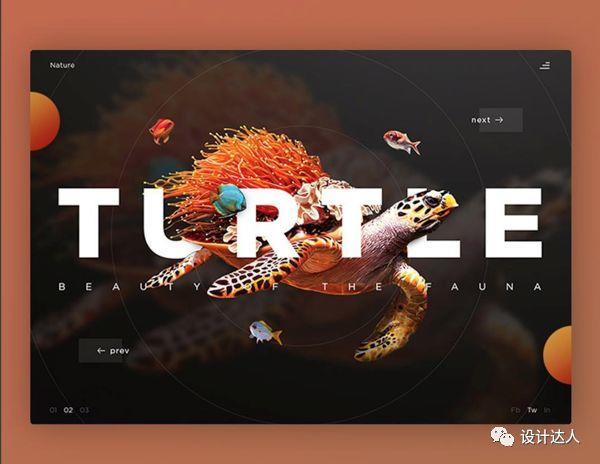
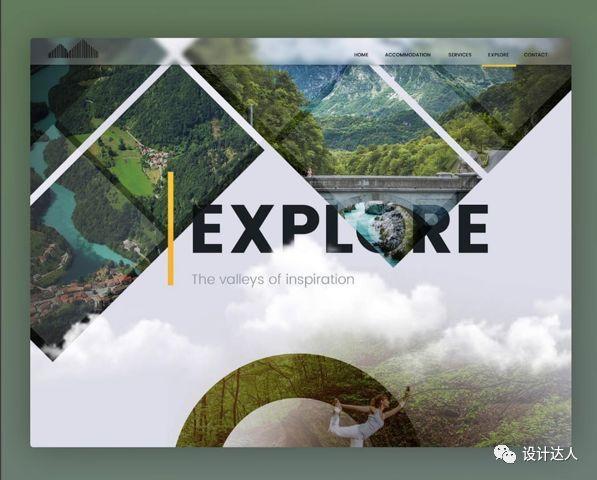
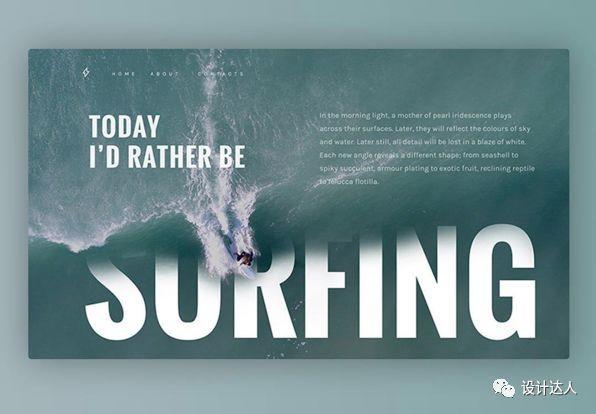
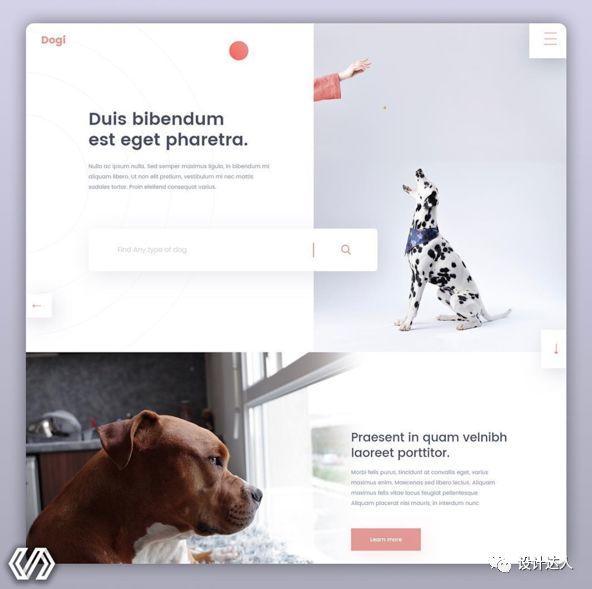
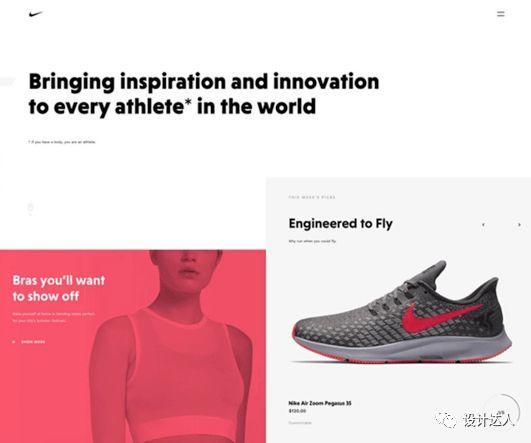
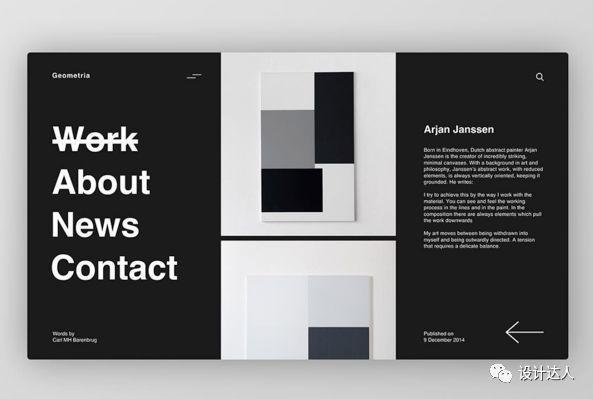
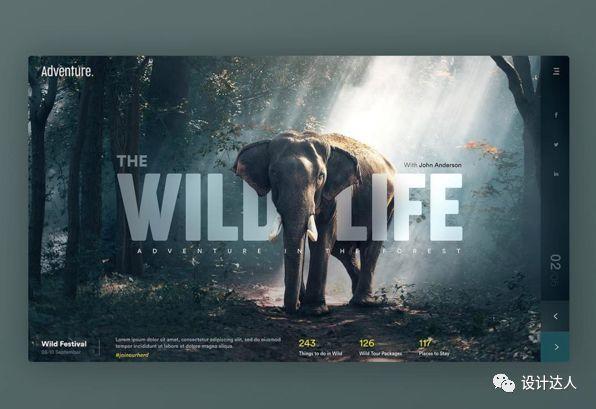
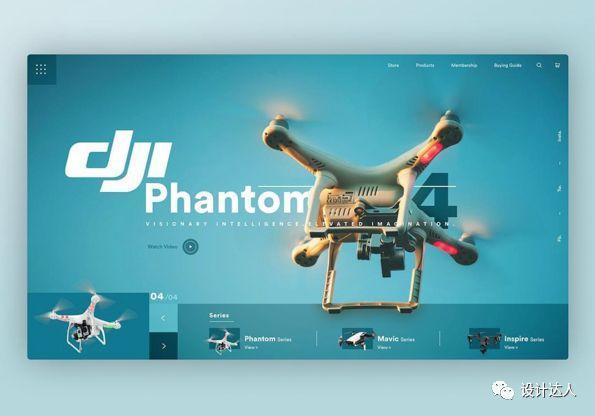
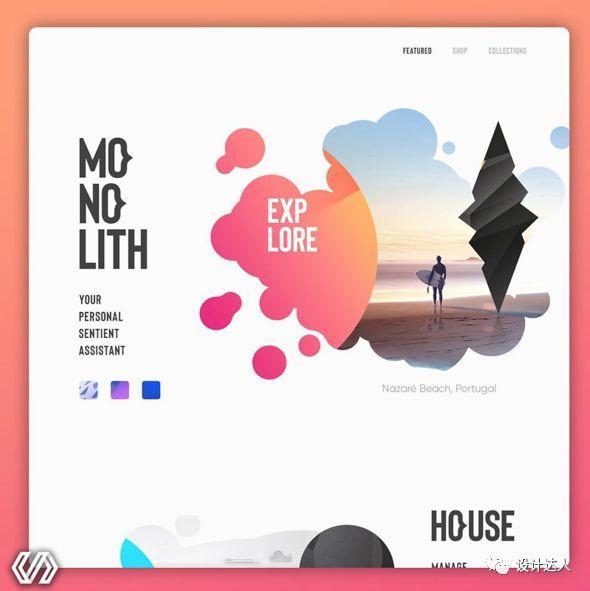
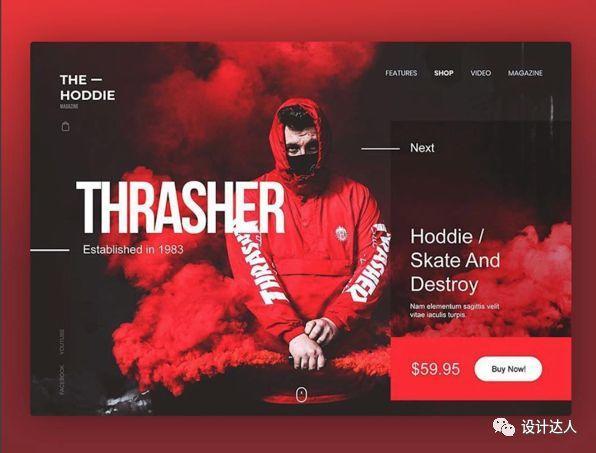
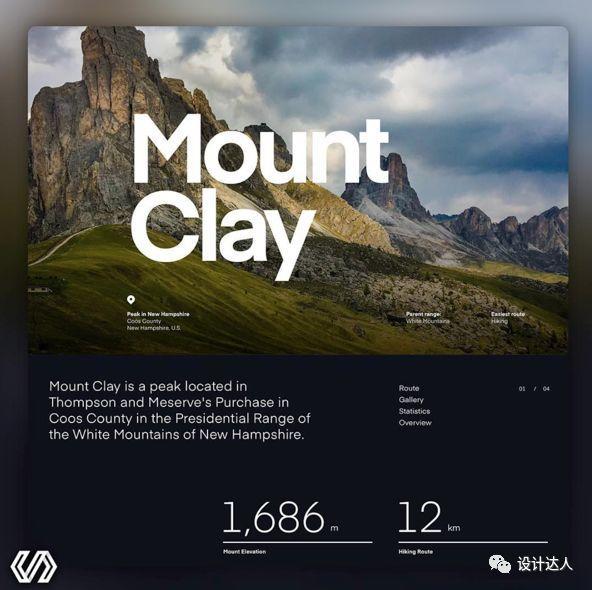
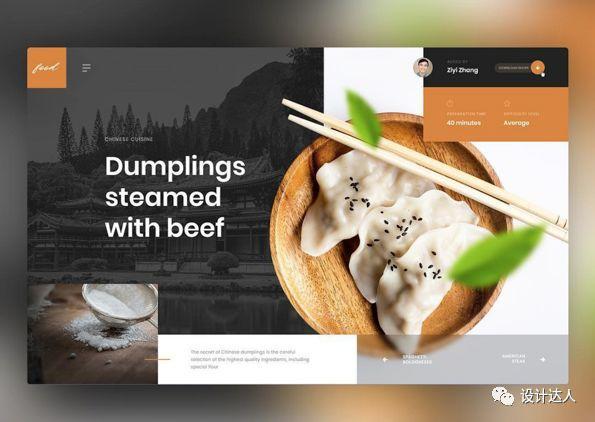
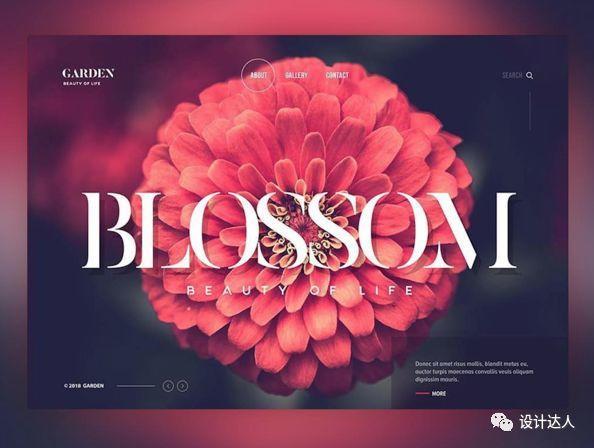
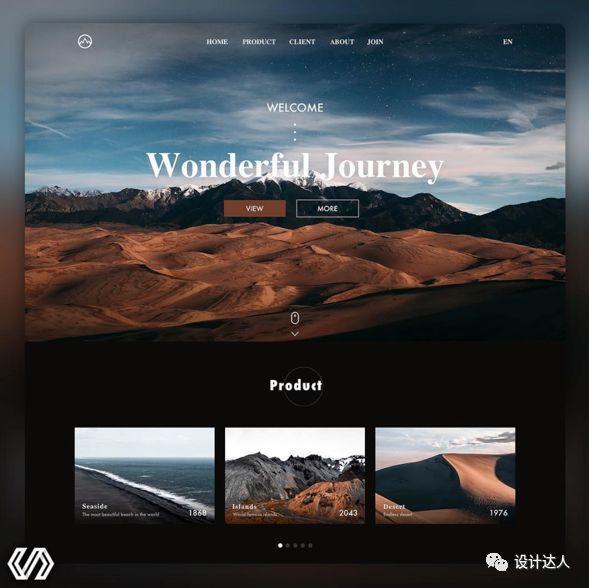
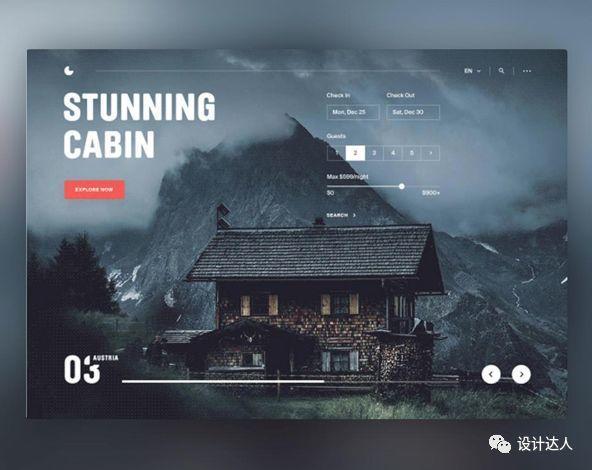
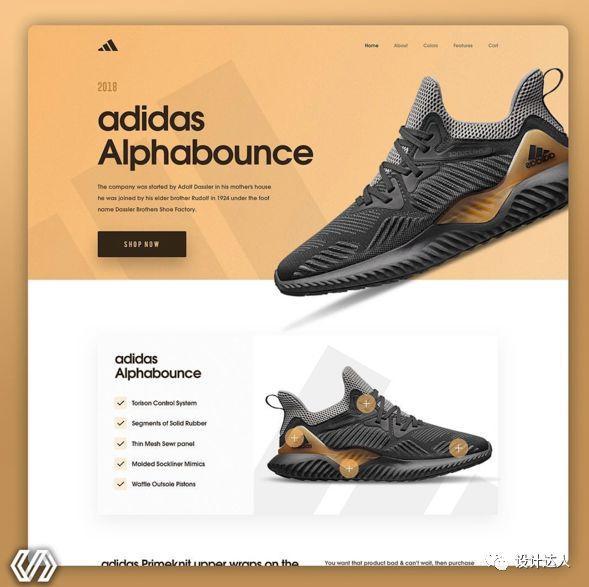
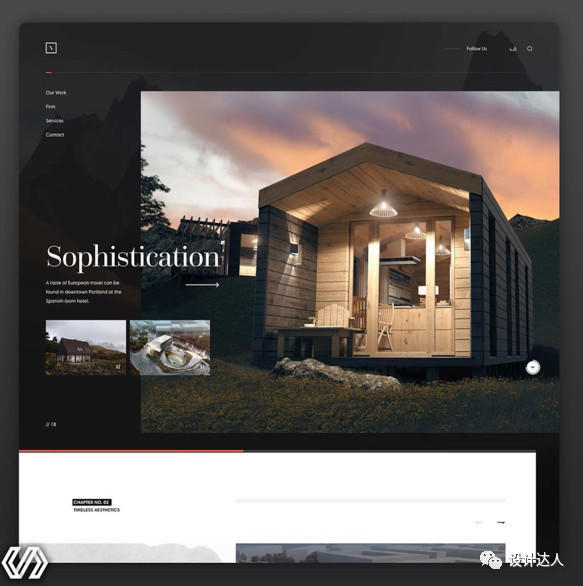
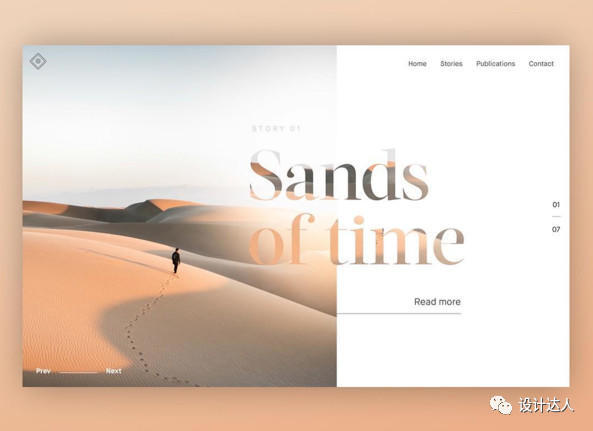
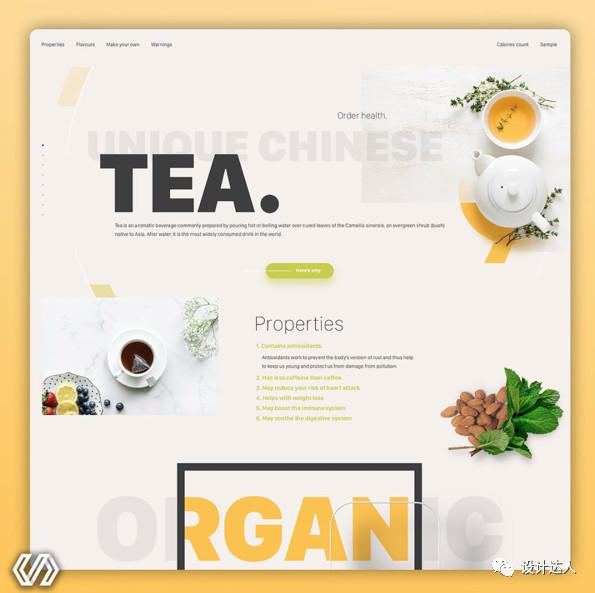
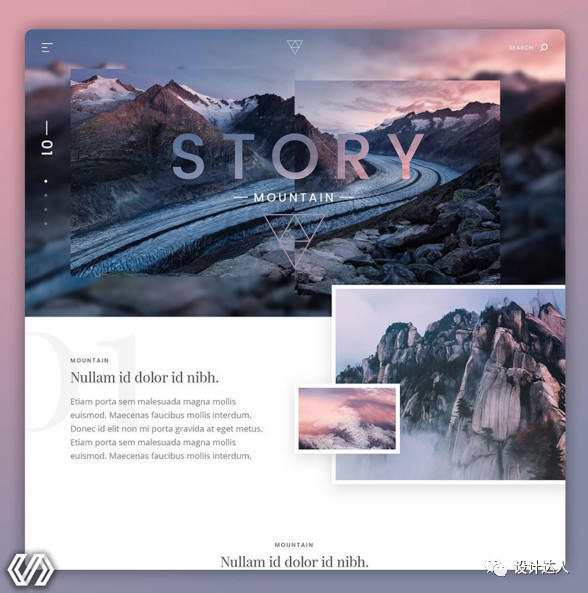
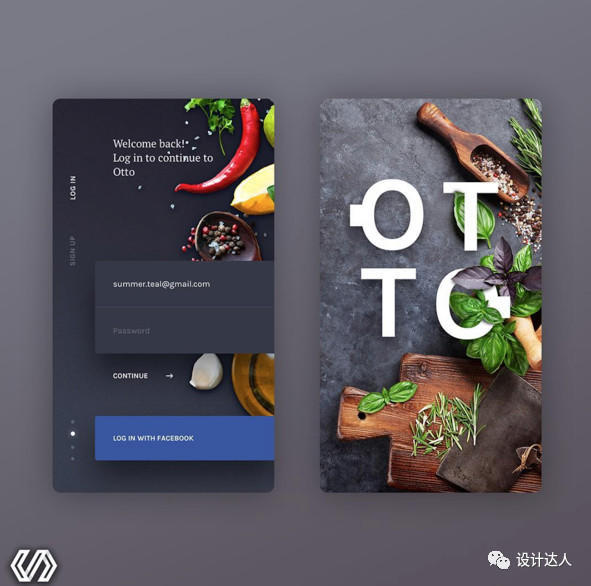
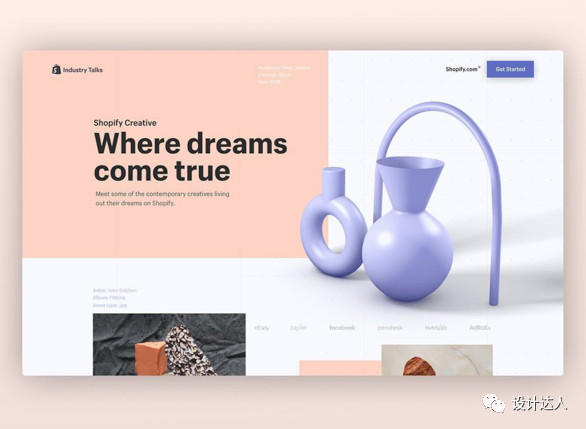
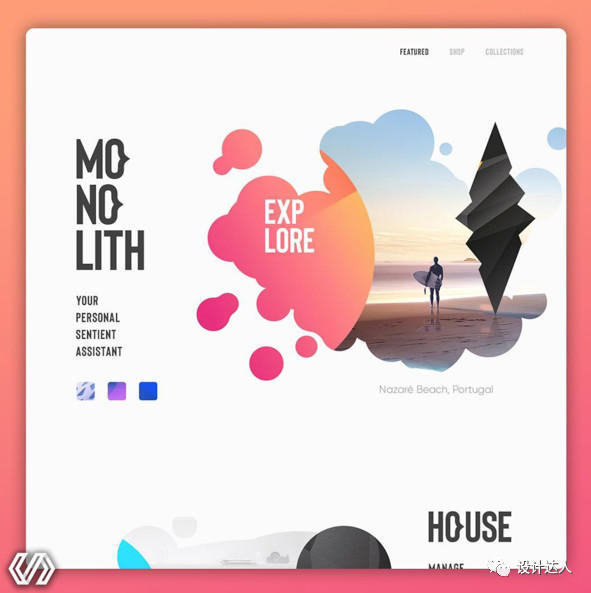
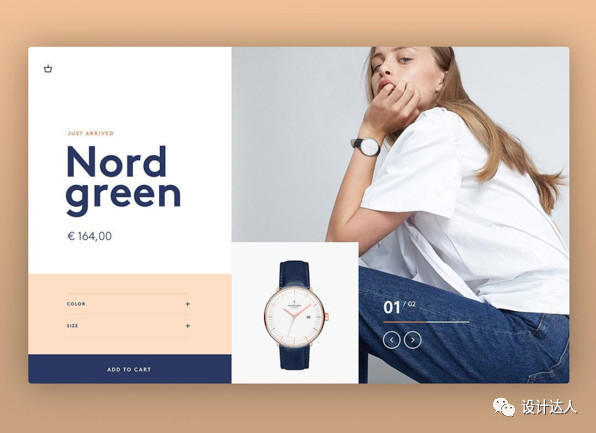
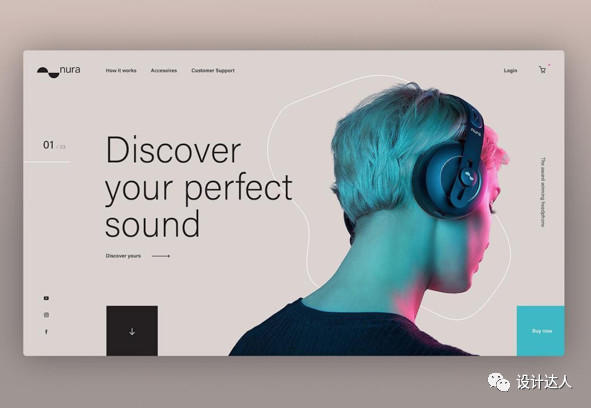
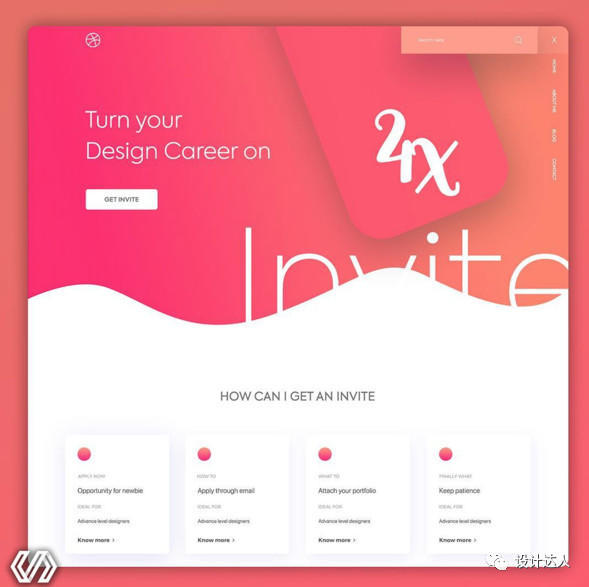
设计师们,来一起欣赏的网页界面,从中获得新的设计灵感吧!
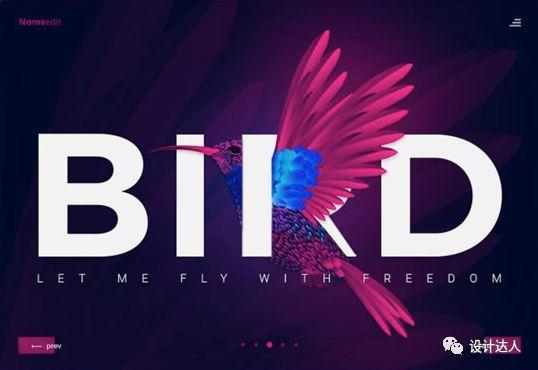
Design by:@nomsedit
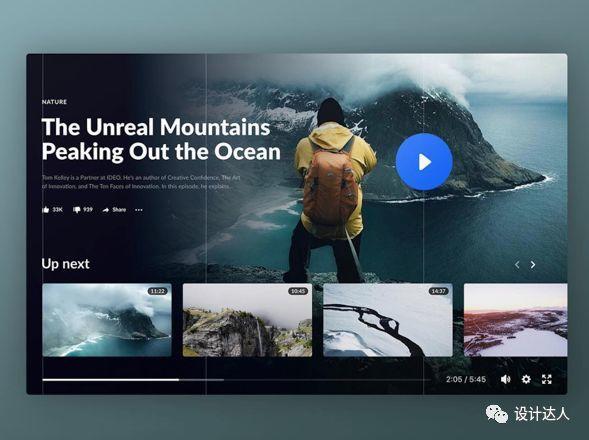
看了上面这张图,我想到一个同学的问题:
我可能缺乏创意,发现你发布的每个设计看起来都差不多。 例如作品中的大型字体,是用什么字体?如何让物体与字体穿插进去?
小编建议你不要过于在乎这些,这些都是软件使用操作,随着你工作时间长,慢慢就会懂了,当然也可以看看一些 PS 相关教程啦,作为初入门的设计师,建议你看作品的表现手法、配色,版式等等,并增加自己的审美能力。
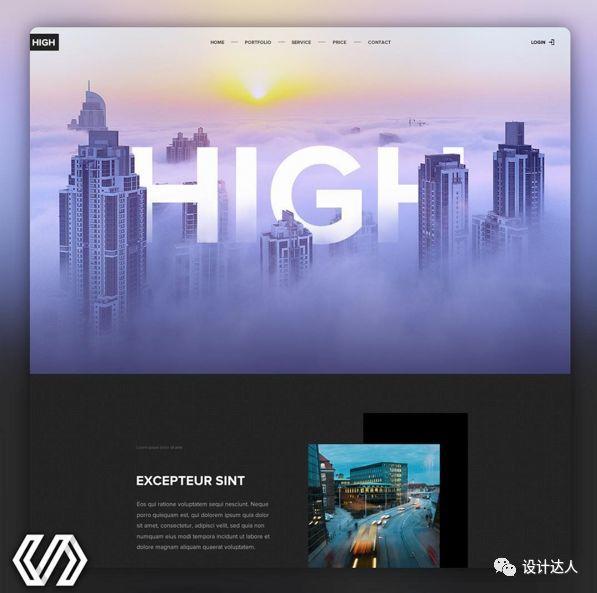
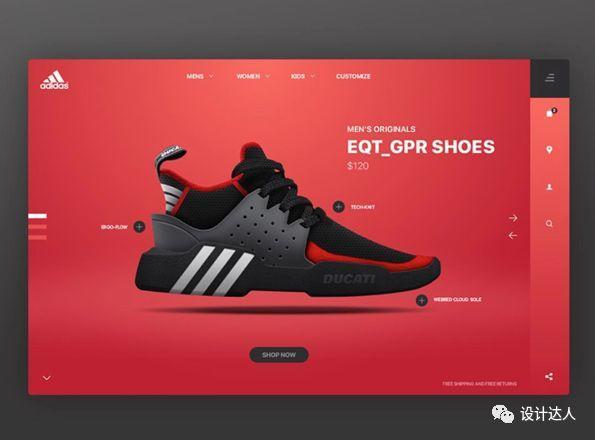
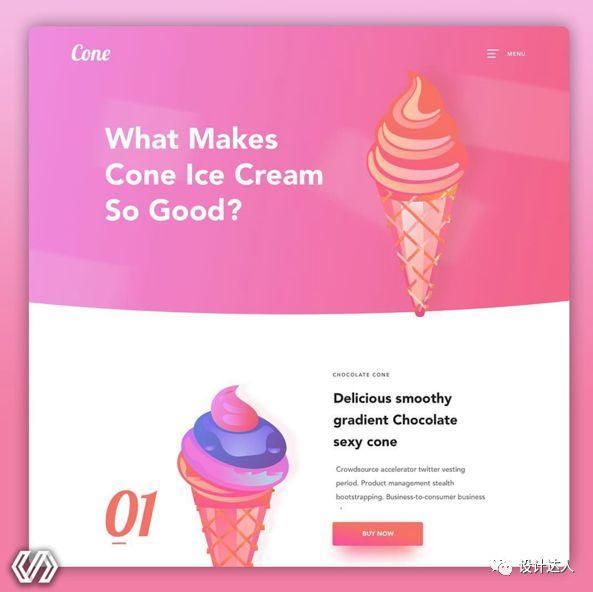
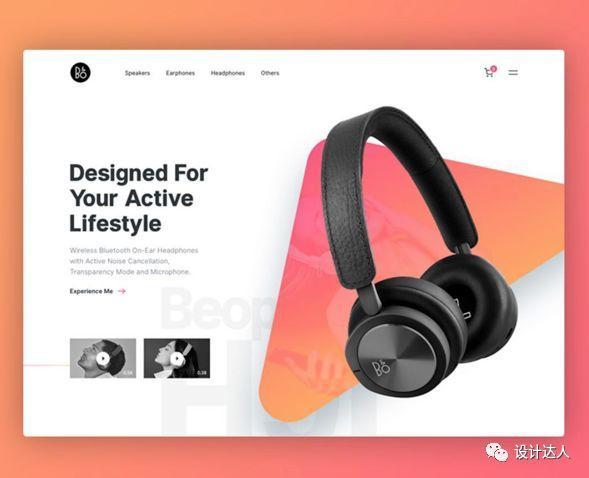
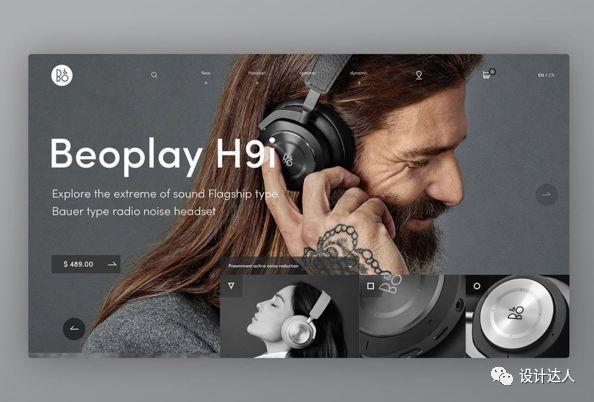
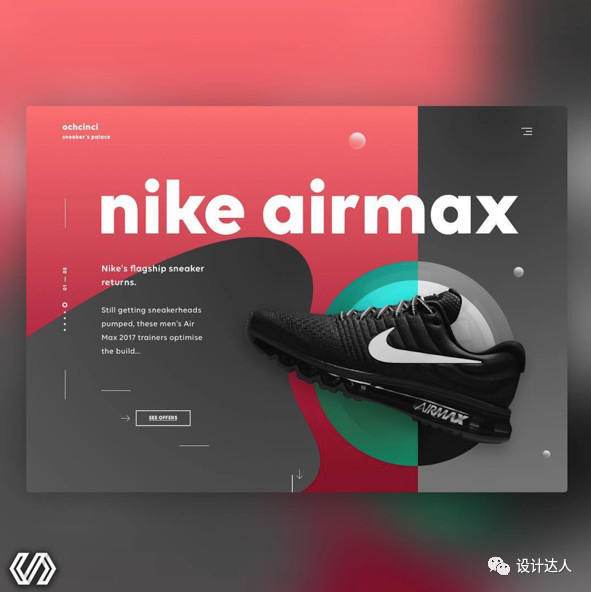
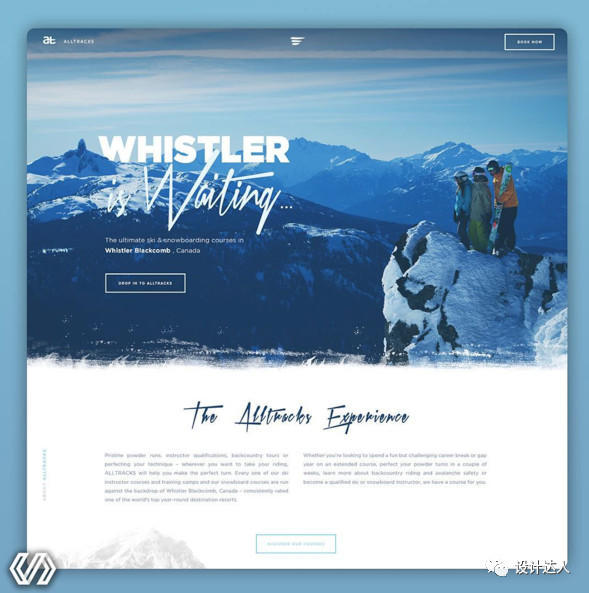
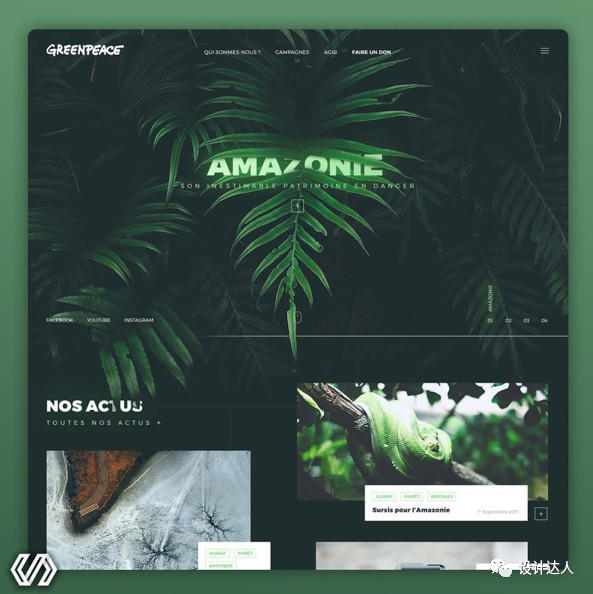
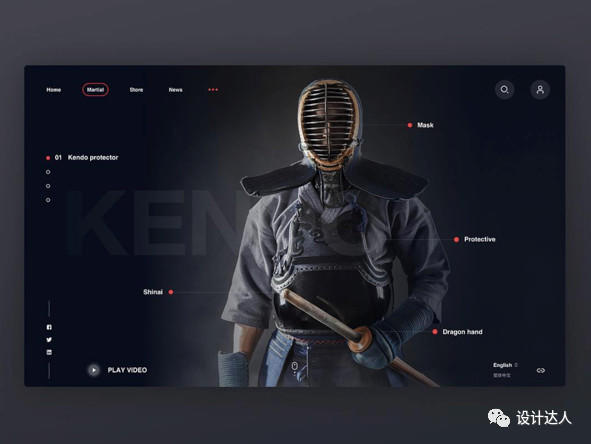
Design by:@outcrowdstudio
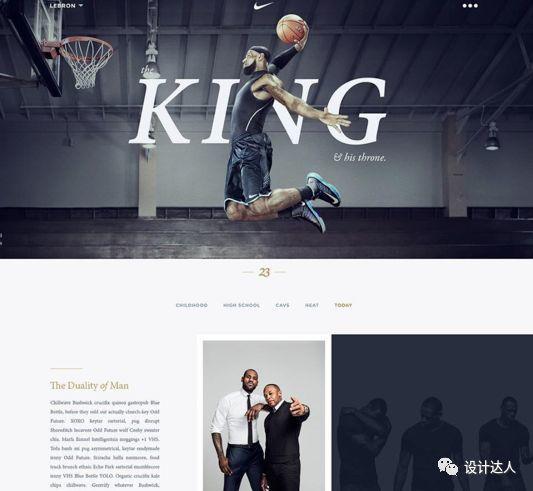
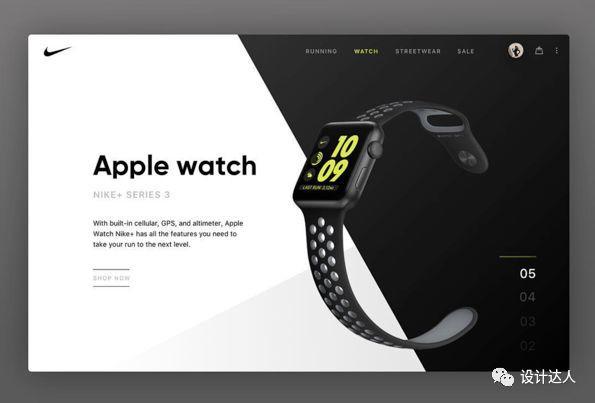
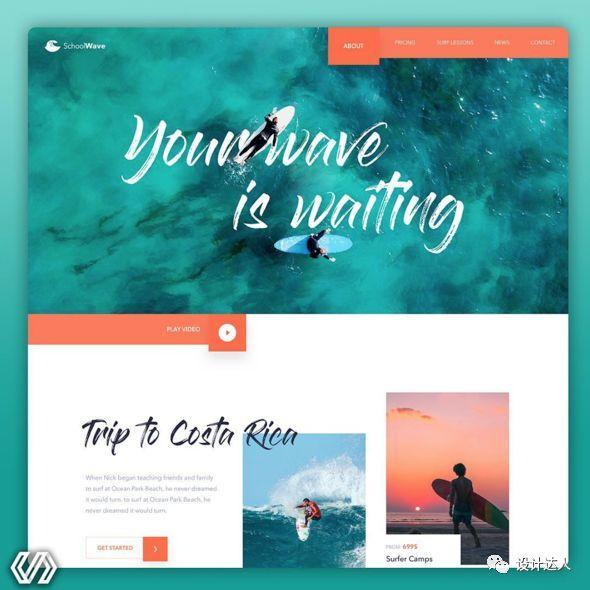
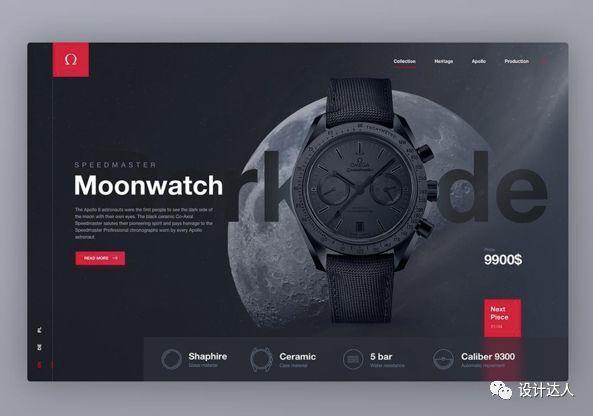
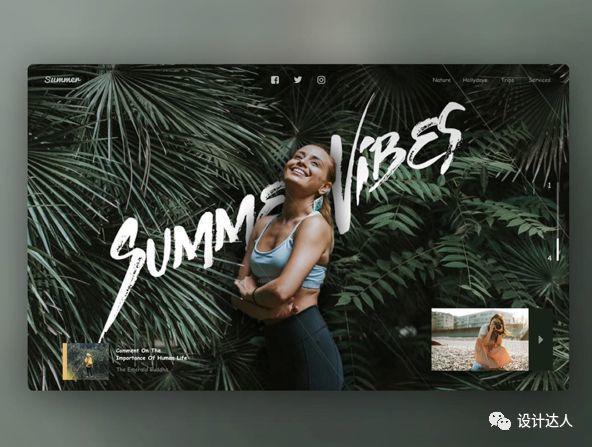
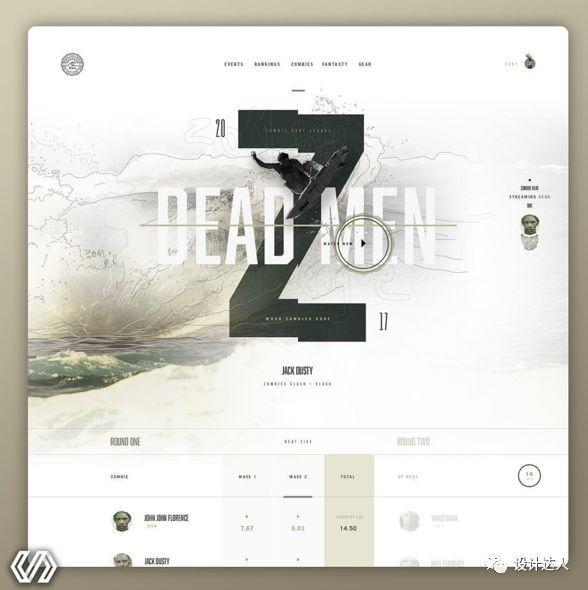
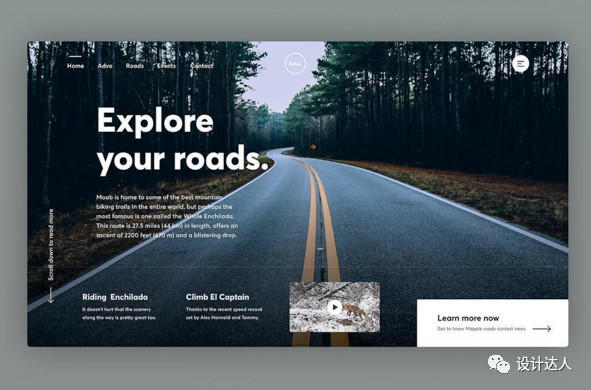
Design by:@rathniley
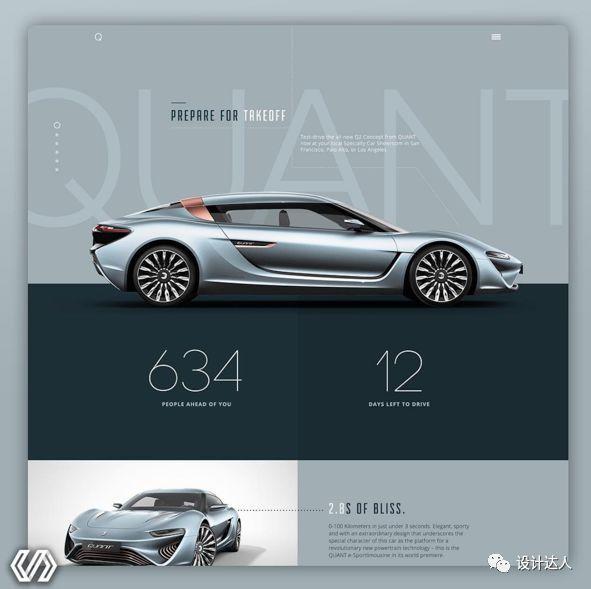
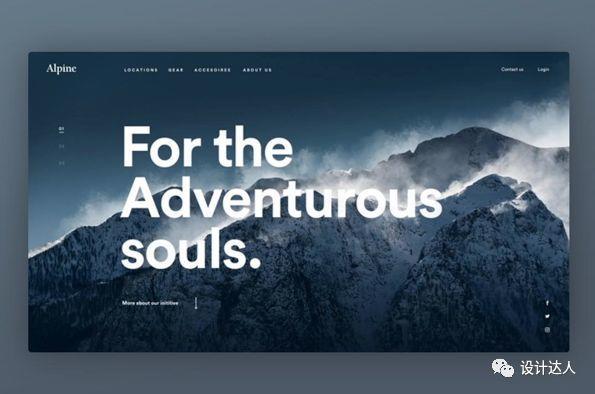
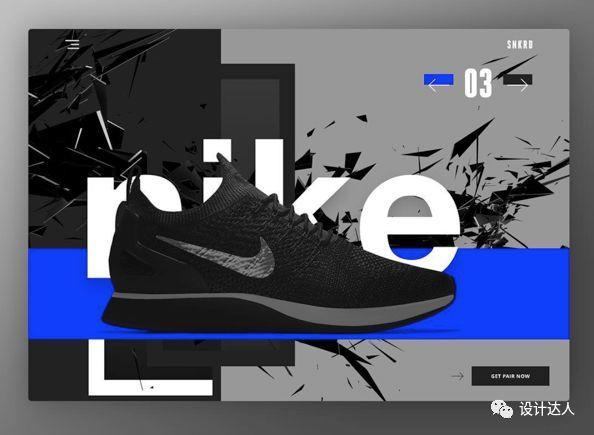
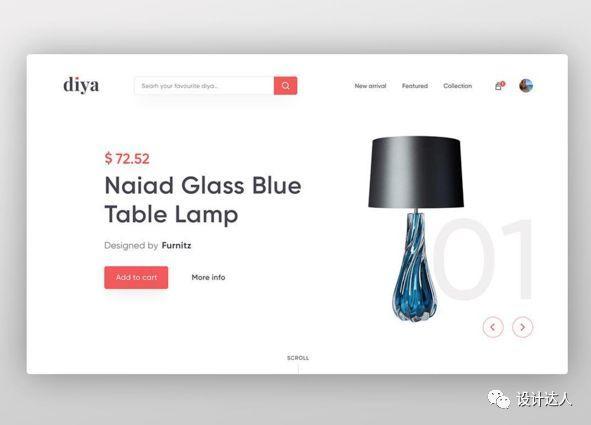
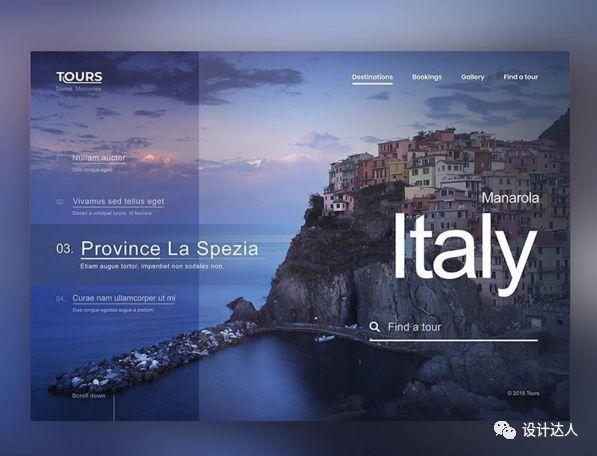
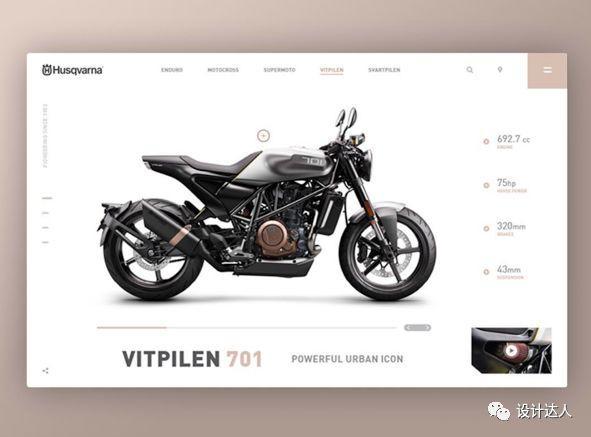
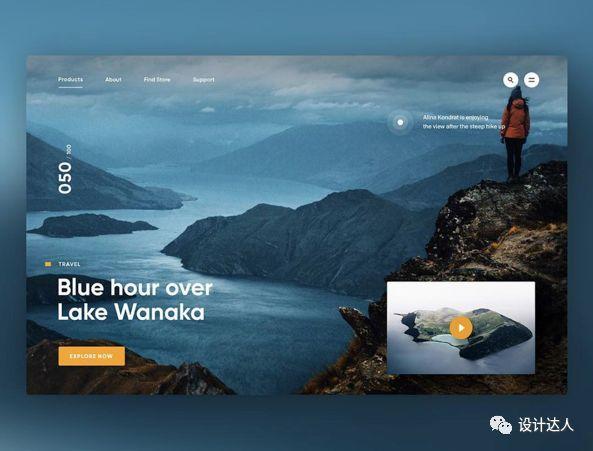
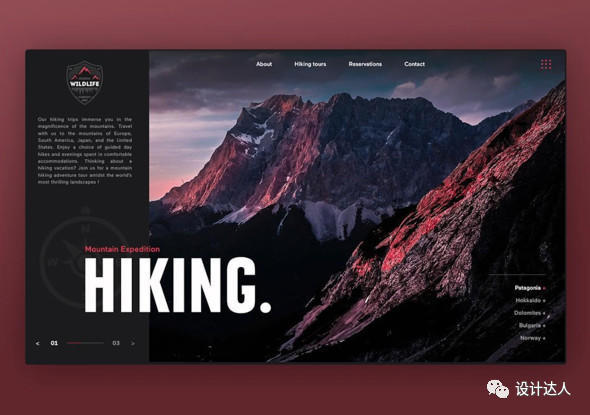
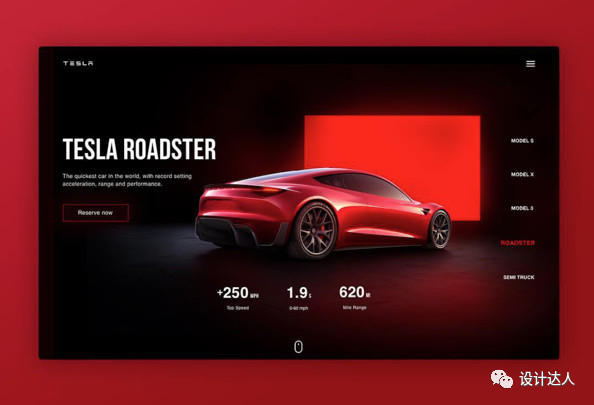
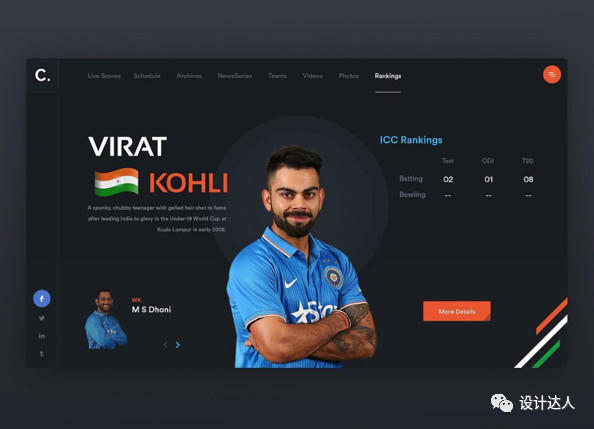
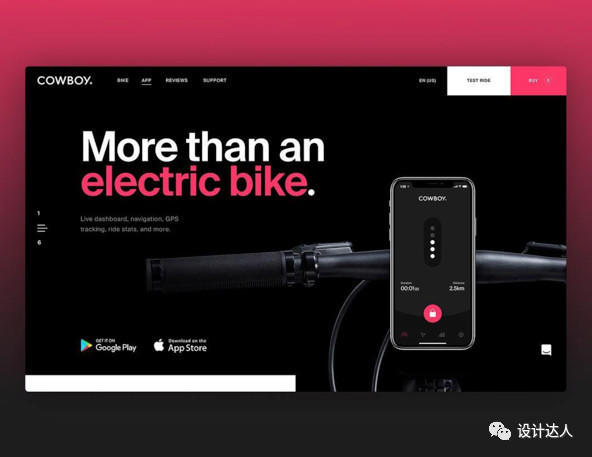
Design by: Robert Berki
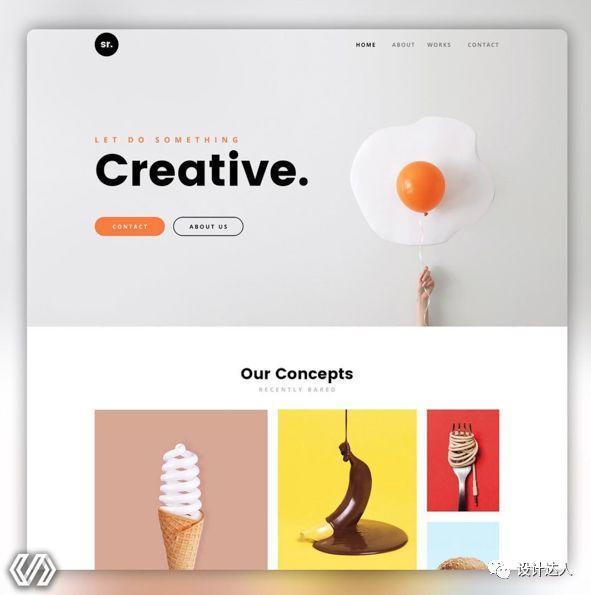
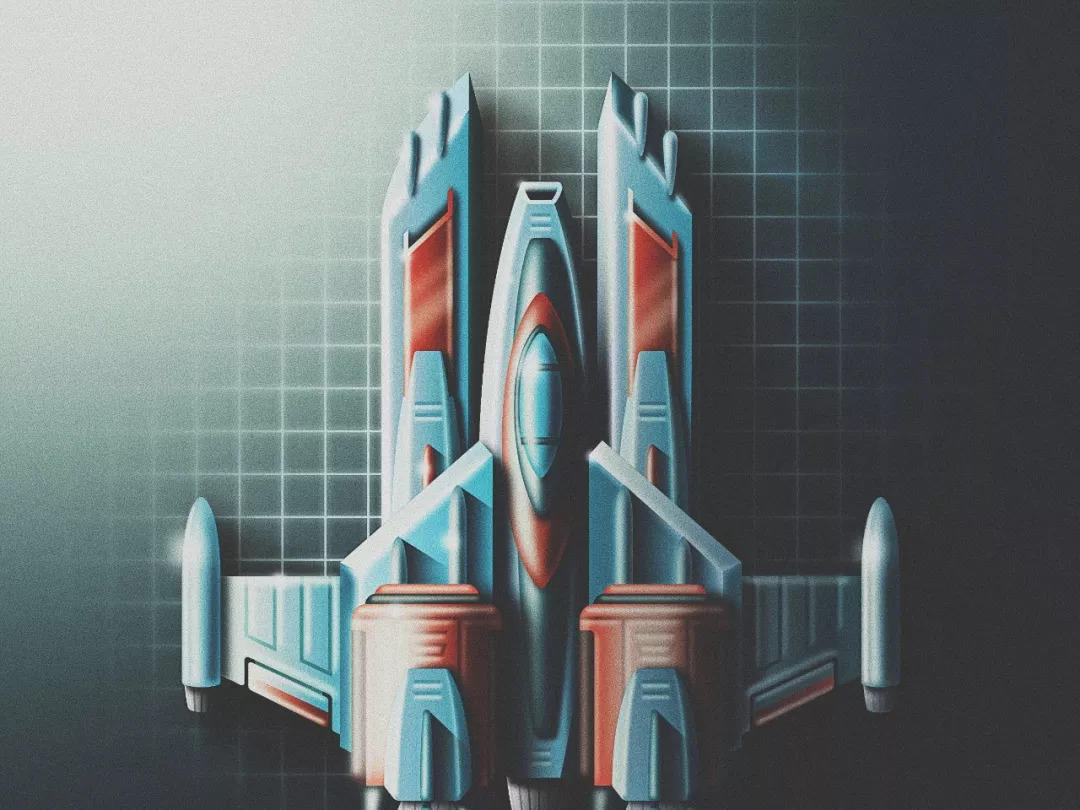
这个跑车网页设计作品,布局排版都十分简约,仅仅采用很简单的宫格设计,但通过配色、字体层级、留白,便得整体感觉却非常好,所以不一定要做很复杂的效果,学好排版技巧也能做出不错的案例!
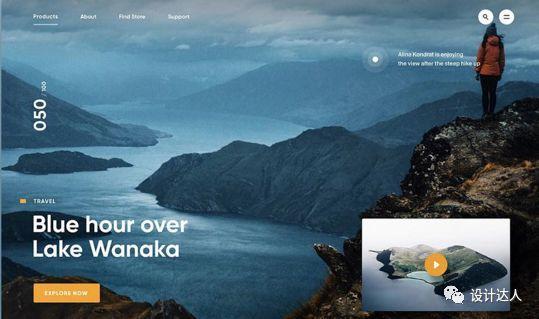
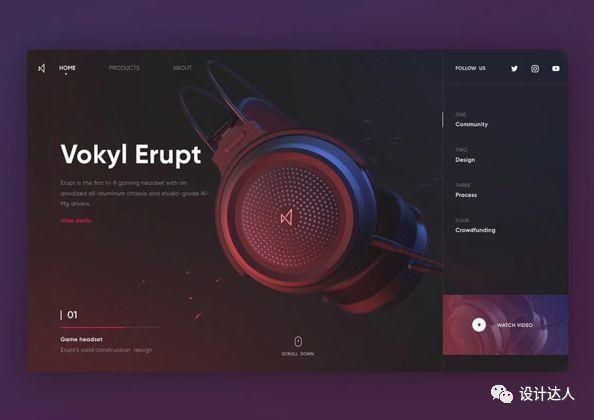
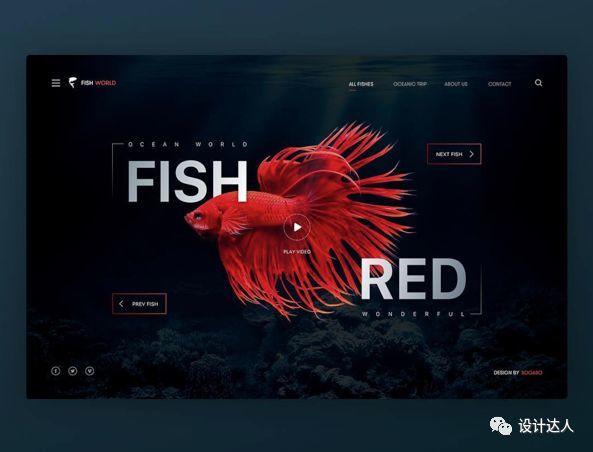
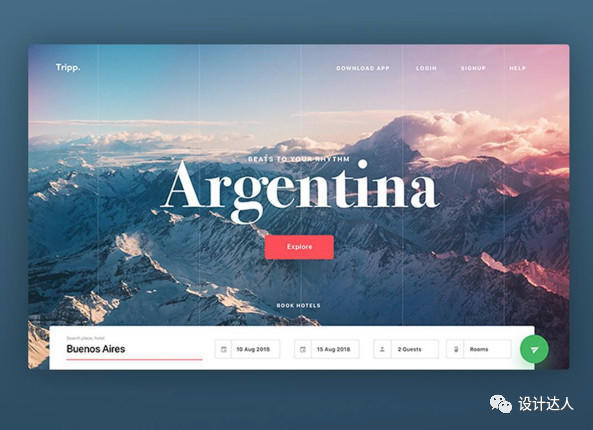
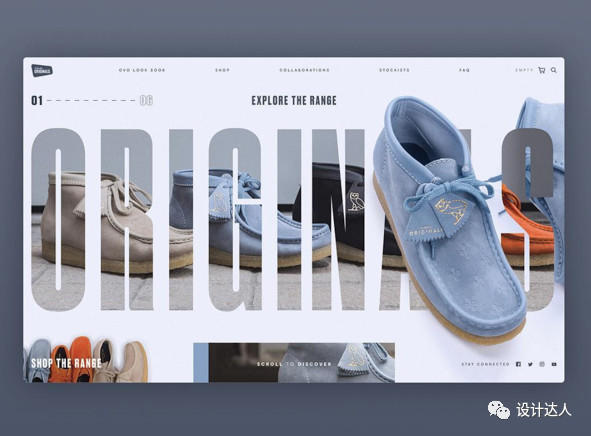
Design by: Nick Taylor
Design by:@vivekgetinstagram
Design by: Kate Laguta
Design by:@l_svl
Design by:@gilhuybrecht
Design by: Samuel Scalzo
Design by:@rathniley
Design by:@rob_robertson_design
Design by:@arendstom
Design by: Hippie Mao
Design by:@christvizcarra (PS:这张图处理很赞!)
Design by:@rrahian
Design by:@dennis.design
Design by:@brkrobert
Design by:@artlemonstudio
Design by:@vladimirbiondic
Design by: @bobchadesign
Design by: Nick Herasimenka

Design by: @bobchadesign
Design by: Jabel Ahmed
Design by:@dawidmlynarz (像这种简约版式,再配合 CSS 动画,效果就更不错了)
Design by: Ali Sayed (小编提醒你,这种网页,看似简单,但内容质量非常重要,不要乱试!)
Design by:@aleksandrkotelevets (黑白配色)
Design by:@im_abhishekp
Design by:@im_abhishekp
Design by: Samuel Scalzo (手机网页)
Design by: Alexander Laguta
Design by:@im_abhishekp
Design by: Sarath
Design by:@outcrowdstudio
Design by:@realvjy
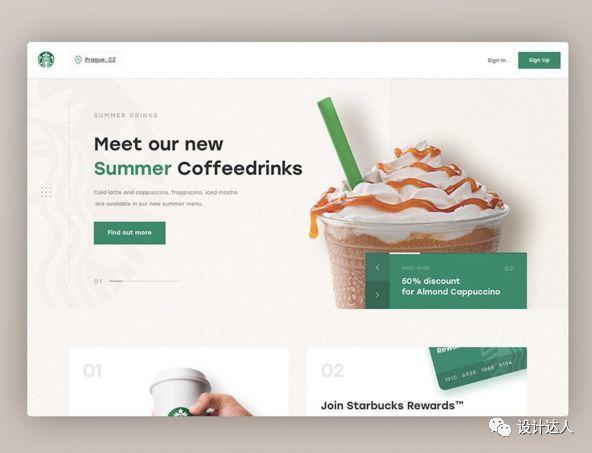
Design by:@konstantinzhuck (星巴克专题页面设计)

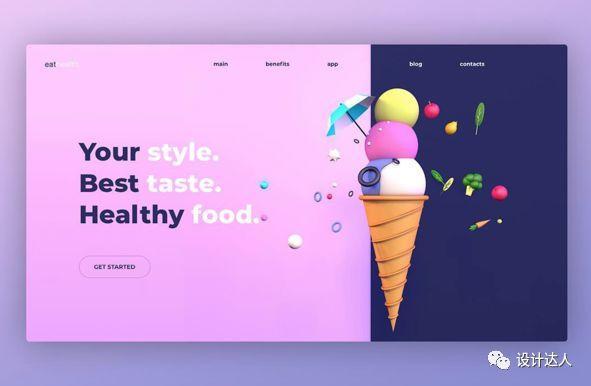
Design by: Mike | Creative Minds (美食网站设计)
Design by:@rathniley
Design by:@im_abhishekp

Design by:@im_abhishekp
Design by:@outcrowdstudio
Design by: Cosmin Capitanu

Design by:@zainjin
Design by: Dragon Lee
Design by: Rafal Staromlynski
Design by:@trionndesign
Design by: @trionndesign
Design by:@hrvoja
Design by: @netflayo
Design by: @trionndesign
Design by: Dimest
Design by:@rtralrayhan
Design by: Rob Robertson
Design by: @sogaso
Design by: Nick Taylor
Design by: Nick Taylor
Design by: Nick Taylor
Design by: Nick Taylor
Design by: @luovastudio7
Design by: Ben Johnson
Design by: Nick Taylor
若是网页设计已经很多年,但还是没什么进步的你,这样的话你要注意了,除了自己工作,小编建议你看一些书籍,设计导航推荐的100本设计书籍,里面有技能书,有理论书,都需要看一下。
今天的网页界面已分享完毕,你喜欢这些作品吗?欢迎在下文评论处留下你的建议。
蓝蓝设计( www.lanlanwork.com )是一家专注而深入的界面设计公司,为期望卓越的国内外企业提供卓越的UI界面设计、BS界面设计 、 cs界面设计 、 ipad界面设计 、 包装设计
如果您想订阅本博客内容,每天自动发到您的邮箱中, 请点这里
今年是宫崎骏电影《龙猫》上映的30周年,吉卜力工作室已经将电影原版胶片转换成了高清数码,进行了修复与重制,并将于12月14日在内地上映。
近日,龙猫中国版终极海报公布,由我们熟悉的著名设计师黄海设计:

小梅与小月在看似是稻田实则是龙猫毛茸茸的肚子上玩耍。
设计师黄海大家想必已经不再陌生,被称为「天才设计师」的他设计了包括《一代宗师》、《黄金时代》、《大鱼海棠》、《我不是药神》、《小偷家族》、《影》、《邪不压正》等电影海报,收获了外界的一致好评。
黄海出身「广告界的黄埔军校」奥美,在这里他遇见了他的恩师——台湾著名的文案大师刘继武先生。
在奥美的经历为他打开了创意的大门,之后他加入了一家本土广告公司担任美术总监,2007年,一次偶然的机会接到姜文的电影《太阳照常升起》的海报设计任务。这是他第一次设计海报,却在戛纳电影节上一亮相就艳惊四座,从此声名鹊起。


△ 2007年《太阳照常升起》
在此之后,黄海受到大量知名导演青睐,包括陈凯歌、姜文、冯小刚、冯德伦、徐克、王家卫、陈可辛等,在此期间也设计了相当一部分的早期优秀电影海报,例如《让子弹飞》、《唐山大地震》、《太极》、《一代宗师》等等。
他的设计逐渐成熟,风格也十分多变,唯一不变的是让人惊叹的创意和构图。

△ 2008年《梅兰芳》

△ 2009年《花木兰》

△ 2009年《白银帝国》

△ 2010年《让子弹飞》

△ 2012年《白鹿原》

△ 2012年《太极》

△ 2013年《一代宗师》

△ 2013年《中国合伙人》
时间来到2014年,一组《黄金时代》的电影海报,黄海从设计界走到了一般群众的视野中。
这组极具东方色彩和现代美学的海报在微博、微信上被疯狂转发,似乎就是以这为契机,所有人记住了这位天才设计大师的名字——黄海。
海报根据在不同上映国家的特点,制作的张张样式都不一样:

△ 中国大陆

△ 美国

△ 日本

△ 台湾

△ 韩国

△ 香港
相比于《黄金时代》,同为2014年的作品,《匆匆那年》和《黄飞鸿之英雄有梦》似乎就并不出名。
2015年,有了之前《黄金时代》的出色表现,黄海更加引人瞩目,从这一年开始,他的优秀作品呈井喷式地出现在大众视野中。

△ 2015年《寻龙诀》

△ 2015年《山河故人》

△ 2015年《道士下山》

△ 2015年《念念》

△ 2015年《捉妖记》
2016年,国产电影《大鱼海棠》崛起,而黄海和插画师@sheep卍 共同合作为其设计的海报再次惊艳四座。
跌落水中的椿,和大鱼的一眼凝望,开启了这场奇幻的故事。2016年7月8日,赴你十二年之约。

△ 定档海报
当海洋与火焰相融,7月8日,我们终将重聚。

△ 终极海报
同年,中国中央电视台出品的一部三集文物修复类纪录片《我在故宫修文物》上映。
海报分别以6件国宝级珍贵文物为背景,分别是:元代「剔红水仙花纹图盘」、明代「边景昭 竹鹤图轴」、清代「黑色绸绣菊花双蝶图竹柄团扇」、清晚期「掐丝珐琅万寿无疆中碗」、明代「自在观音像」、宋代「汝窑天青釉弦纹三足樽」。


当然这一年还有喜剧之王周星驰的大爆电影《美人鱼》:

黄海更是在这一年操刀第53届金马奖海报,他以杨德昌《牯岭街少年杀人事件》为灵感,设计出男主角拿手电筒探照暗处的身影,除了向经典致敬,也带出「回看来时,照亮前行」的期许。

△ 2016年 第53届金马奖
时间推进到2018年,今年黄海更是收割了整年大半的优秀电影。而他的惊艳的设计风格也逐渐变得让大众看到海报的同时就能反应过来「这是黄海老师设计的吧」。

△ 2018年《我不是药神》

△ 2018年《江湖儿女》

△ 2018年《少年的你》

△ 2018年《犬之岛》

△ 2018年《小偷家族》
有人说,黄海把中国电影海报设计拉至了国际水平,他将艺术、灵魂和故事完美地结合在一起,他的魅力在于很多人仅仅因为他设计的海报而去看相关的电影。
如今黄海设计的电影海报作品越来越多,我们不妨开始期待,他的下一份作品会带来什么样的惊喜。
蓝蓝设计( www.lanlanwork.com )是一家专注而深入的界面设计公司,为期望卓越的国内外企业提供卓越的UI界面设计、BS界面设计 、 cs界面设计 、 ipad界面设计 、 包装设计 、 图标定制 、 用户体验 、交互设计、 网站建设 、平面设计服务。
如果您想订阅本博客内容,每天自动发到您的邮箱中, 请点这里
在设计领域,设计风格总是多变的,也有很多随着流行趋势而不断变化,但是存在着N多的争议。
对于扁平化和拟物化,说白了,只是风格的不同,最终的设计目的是一样的,但是,却还是会有很多的朋友会纠结于是扁平还是拟物化设计,争论是扁平好还是拟物好,怎么说呢,各有各的优点,各有各的不足,这是今天,我们要带大家看的!

Michael Fugoso,一位来自圣地亚哥,加利福尼亚的插画家和设计师,帅小伙!
他说,关于他自己,就各像其他人一样,他喜欢旅行,他喜欢吃比萨和海鲜,他非常的重视家庭,家庭总是以他的第一位!他也喜欢分享,因为分享会让别人的生活更容易,帮助别人成功,他觉得,这有助于他成为一个好的设计师。同时,他也喜欢自私地做自己想做的事情,因为他觉得,这有助于他成为一个好的艺术家。
今天,带大家看一组他的作品,在他的这些作品中,很好的反映了扁平与拟物的关系,扁平的背景,搭配上拟物的元素,其视觉效果非常棒,冲击力十足,震撼性十足!
扁平与拟物,数不清的恩怨情仇!道不尽的爱恨纠缠!
这是一张扁平化的插画!
当它变成拟物后
你觉得哪个的视觉冲击力更强一些?
我们接着看!
这是一张扁平化作品!

他开始在矢量程序上呈现

开始色彩的调整与细节的完善
最终的效果呈现
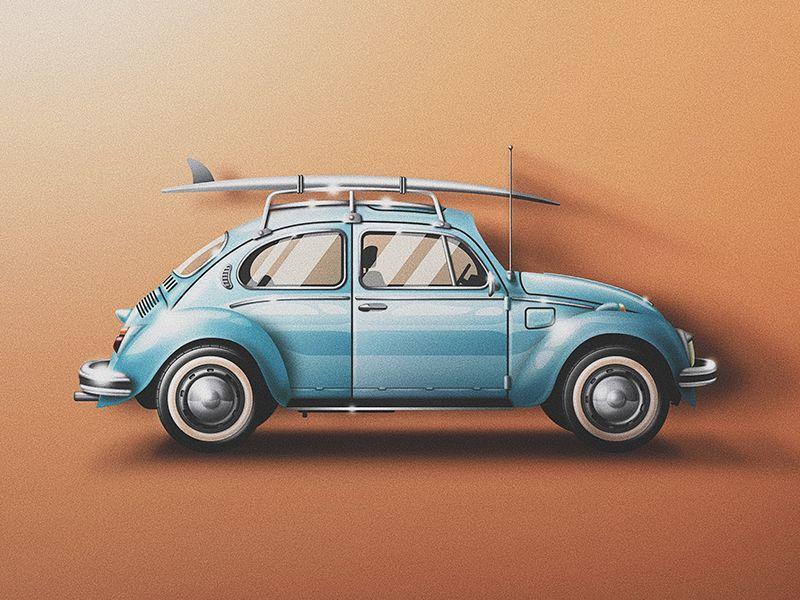
这是一台扁平化的车

添加装饰元素

调整颜色后,得到一个扁平化的结果
把车元素单独提取出来
在矢量程序上呈现
上色,添加细节
对细节的刻画简直不能再棒
调整色调
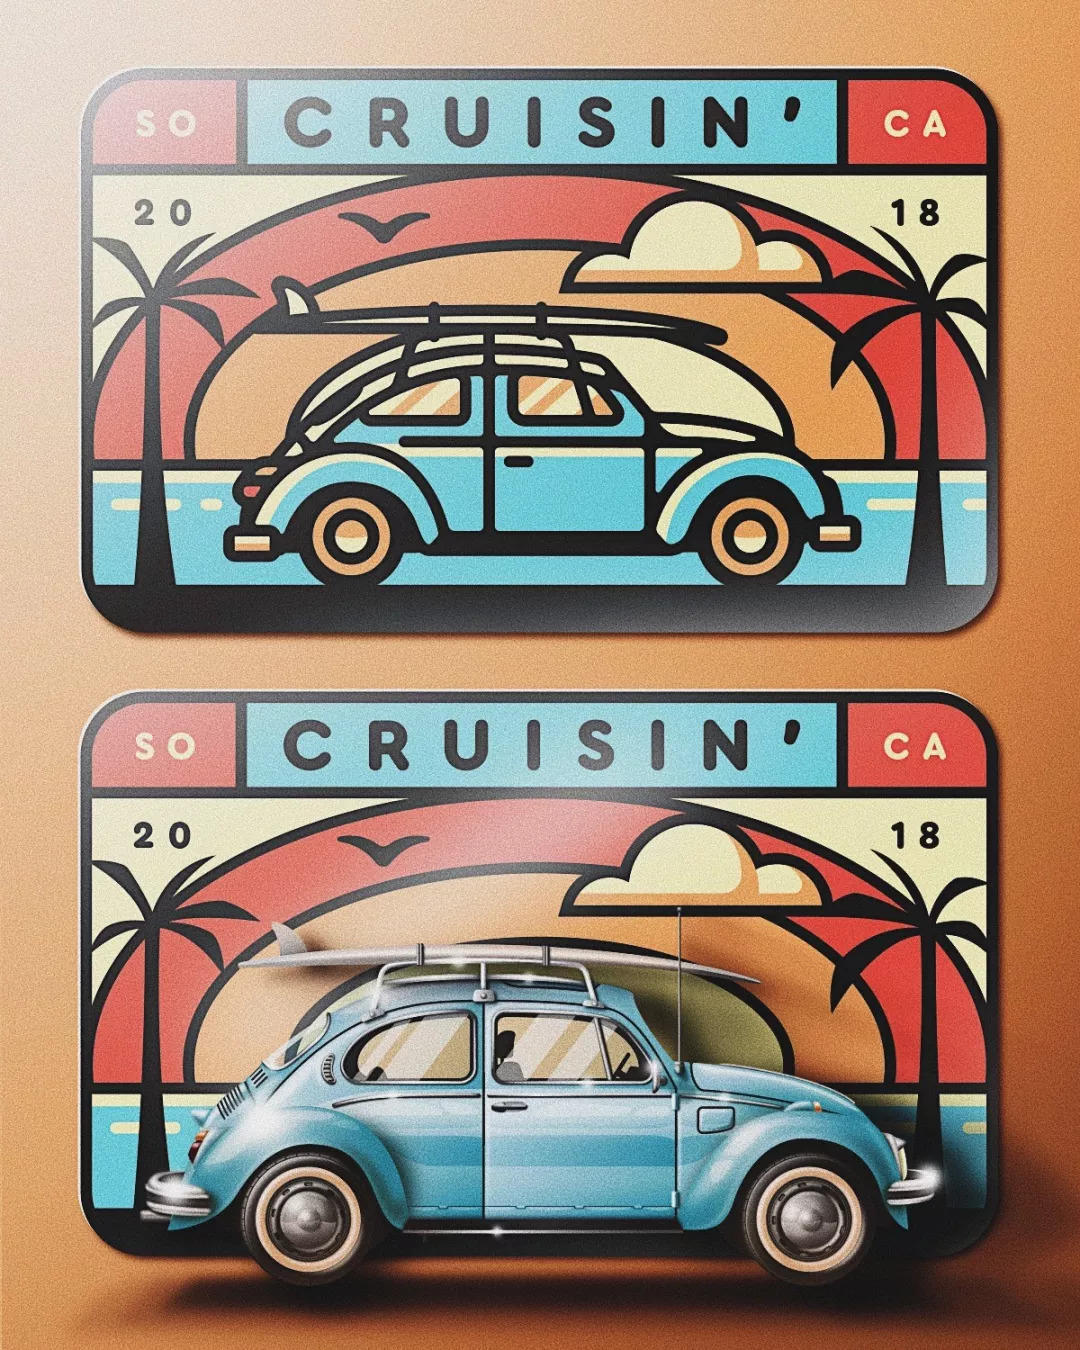
最终的对比
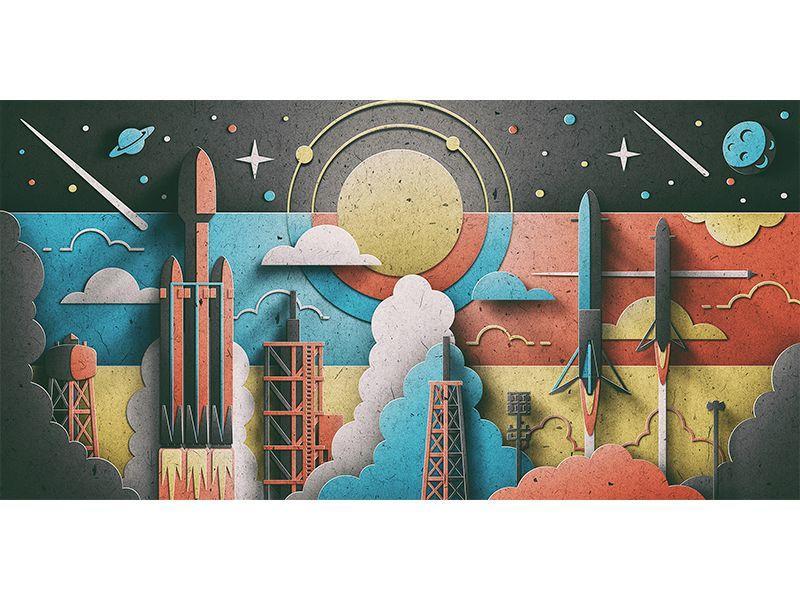
再往下看,你可能会被美哭

扁平与拟物的碰撞
不一样的花火


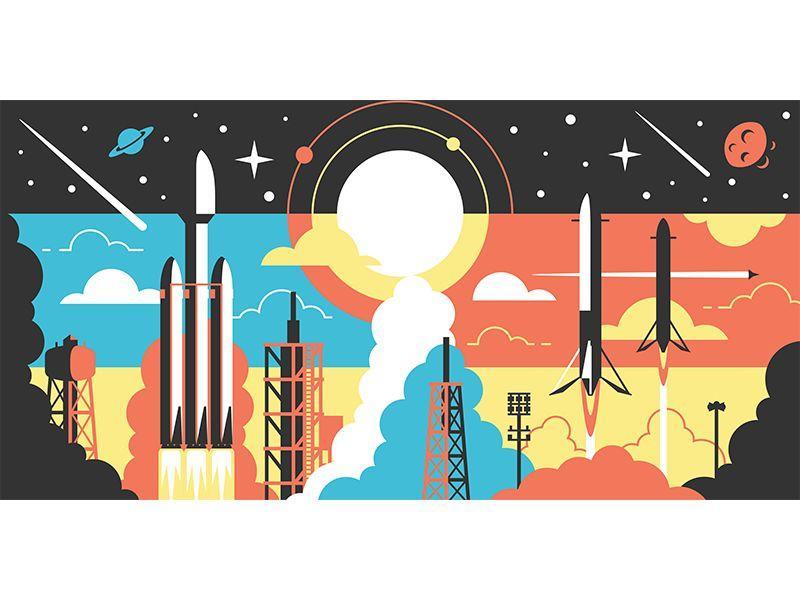
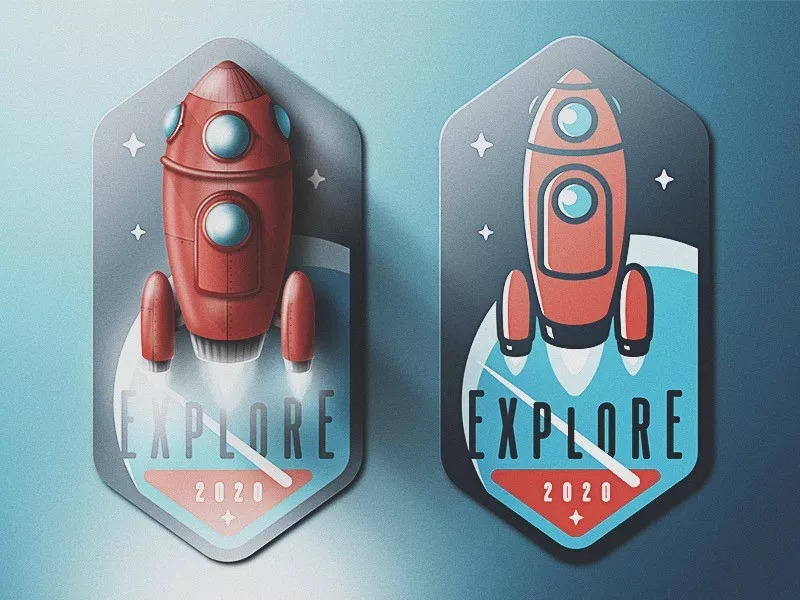
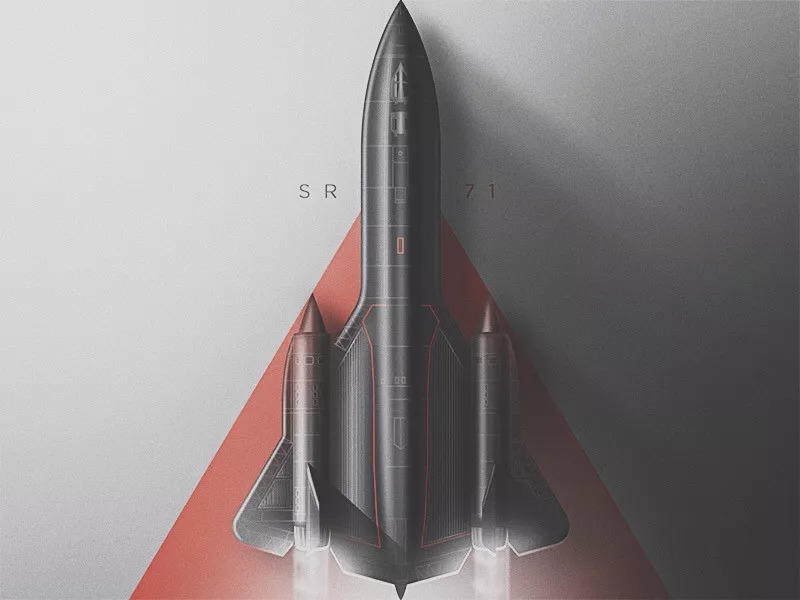
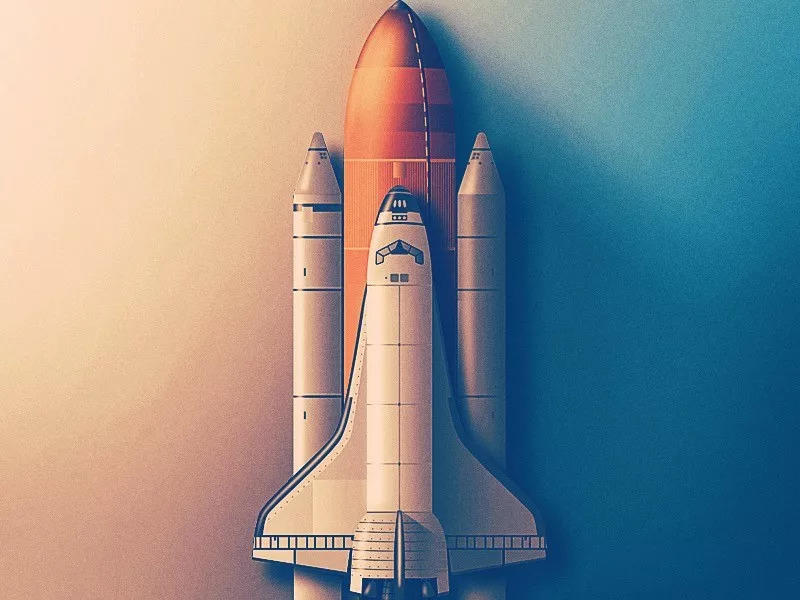
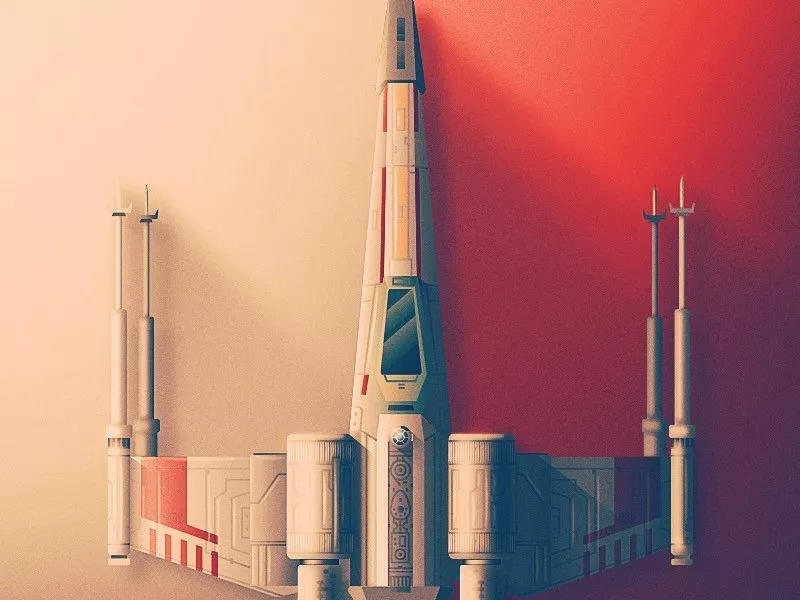
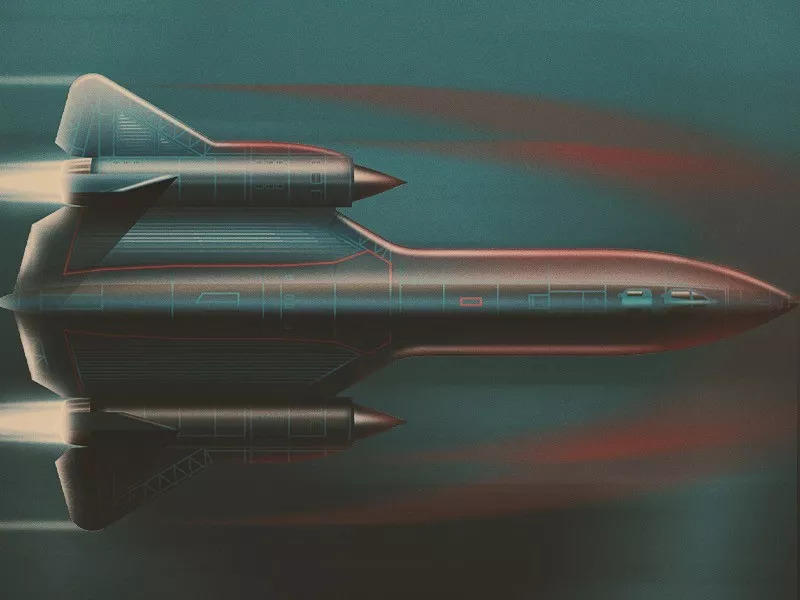
这些火箭,看得人热血澎湃阿

看了感觉效果如何
蓝蓝设计( www.lanlanwork.com )是一家专注而深入的界面设计公司,为期望卓越的国内外企业提供卓越的UI界面设计、BS界面设计 、 cs界面设计 、 ipad界面设计 、 包装设计
如果您想订阅本博客内容,每天自动发到您的邮箱中, 请点这里
要怎样才能算上一个优秀的设计师呢?优秀的设计师意味着要在大公司里工作?还是要打造了一个意义非凡的世界?抑或是因为写了本设计领域热销的著作?…一个优秀的设计师可能会满足以上的所有条件,也可能一条都不符合,这其实都不重要。当你和优秀的设计师一起共事的时候,你就会从他们工作和为人处世的方式——独处方式、思维方式、设计方式——来感受优秀的设计师到底是什么样子的。其实他们都有自己独特的处事风格,并且各自有着不同的特长和个性。我有幸和一些非常棒的用户体验设计师和产品设计师一起共事过,他们有一长串无法数尽的本领。但我观察到一些他们共有的特质:
“有效的提问带了来洞察力,洞察力滋养了好奇心,好奇心浇灌了智慧”
在设计师的眼里,世界是千变万化的。优秀的设计师经常会对事物进行质问。如果有什么是难以理解的,他们就会去问个明白。
“‘走直线’是走不了太远的”
探索者将“永远不去走直线”视作自己的信条。探索的过程中总会伴随着未知。探索者不知道他们不知道的事情有哪些,他们的目标也不是去寻找有哪些事他们不知道,而是去理解事情的本质是什么。在我看来,优秀的设计师会用一种开放的思维来探索他们的项目,因为他们自己也不确定他们最终会发现什么。
“双重性格者(同时具有内向和外向性格的人),往往更有创意,因为他们更能适应新环境”
双重性格者能很好地应付团体活动和社交场合,当然他们也喜欢有独处的空间做点自己的事。优秀的设计师既需要与团队通力合作,也要喜欢独立地想点子。
“开发一个内置的废话探测仪”——Ernest Hemingway
当你跟形形色色的人一起共事时,你必须学会把他人的废话扼杀在摇篮里。优秀的设计师知道什么样的人废话多,并在工作中杜绝他们说废话的机会。
“聚沙成塔 ”(“Small changes eventually add up to huge results”)
在会计学里,“累积变化”是指所有差异的总和。革命性的变化往往是累积而来的。优秀的设计师会抓住让他们不爽的东西,并且试着去做改善。他们善于把眼光放远来观察事物的全貌,并且明白微小变化会引起巨大的转变。
“不要一开始就对自己设计方案的抱有自信,开始的时候应该持有一种好奇和质疑的态度”——Simon Pan
这条黄金法则是Simon Pan在读了Marty Neumeier 的《创造力提升的46条天才法则》后提炼出来的。在这本书中, Marty 强调说人的意识形态对学习新知识是有害的,我们要抛开先入为主的观念,并思考为什么我们相信我们所做的事情。
“掌声固然动听,但禁得起批判更难能可贵””——Paul Arden
优秀的设计师并不会特别在意自己的观点能否成为解决方案,他们更想要的是完美的结果,自尊心被他们扔在一边。他们的终极目标是:在使用它的用户和创造它的公司眼中,这款产品是最棒的。
“用不寻常的眼光来观察寻常的事物”——Vico Magistretti
“我喜欢和那些有创造力(雄心壮志)并且’魔怔’ (专注)的人一起共事”——Nicole Kidman
设计师在解决问题时会变得非常专注。我见过一些优秀的设计师,他们对自己的项目抱有极大的热枕,并且被它们牢牢地吸引着。当事情不顺利的时候就会令他们相当的苦恼。
“成为一个独行侠吧,这样你就有时间去思考,去探索真理。保持神圣的好奇心,让自己的人生变得有意义。”——Albert Einstein
优秀的设计师既能自得其乐地独自关在小黑屋里工作,也可以和团队一起合作,达成他们想要的目标。
“把你最爱的东西都干掉,从你的想法中走出来,投入到过程中去”——Chirryl-Lee Ryan
过程是一切的关键。我们要对过程报以信任。这个过程是带领设计师通向最终目标的引路牌。在这个错综复杂的世界中,过程就是设计的关键。
“要想成为与人交流的大师,首先要学会闭上嘴来倾听”——Rick Warren
人都有两个耳朵,两只眼睛和一张嘴。优秀的设计师会遵照这个比例来使用它们(即两分听,两分看,一分说)。大多数人倾听是为了做出回应,优秀设计师的倾听则是为了试图去理解人们的所思所想背后的本质。
“即便是简单的关心也是值得敬重的”——Edward Albert
好的设计师潜意识里是富有同理心的,他们关心人本身,喜欢问“为什么”,同时他们关注人的技能和本质。
“与普世观点不同的是,设计师并不是艺术家。我们通过艺术的手段将我们的思维和工序可视化,但与艺术家不同的是,我们致力于解决客户的问题,而不是展示我们自己对世界的看法。”——Erik Spiekermann
蓝蓝设计( www.lanlanwork.com )是一家专注而深入的界面设计公司,为期望卓越的国内外企业提供卓越的UI界面设计、BS界面设计 、 cs界面设计 、 ipad界面设计 、 包装设计 、 图标定制 、 用户体验 、交互设计、 网站建设 、平面设计服务。
如果您想订阅本博客内容,每天自动发到您的邮箱中, 请点这里
即使现在很多 WordPress 网站模板、H5 在线编辑器等等,但网页设计需求依然非常多,线上编辑器尽管如何智能,但终究也是「模板式」,想完全符合用户需求的产品还是靠有经验的设计师来完成。即使是有经验的设计师,依然是需要不停的找新的设计灵感。
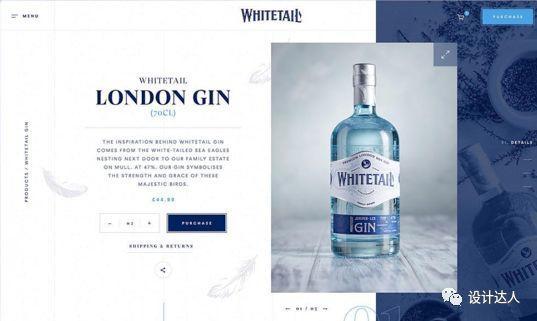
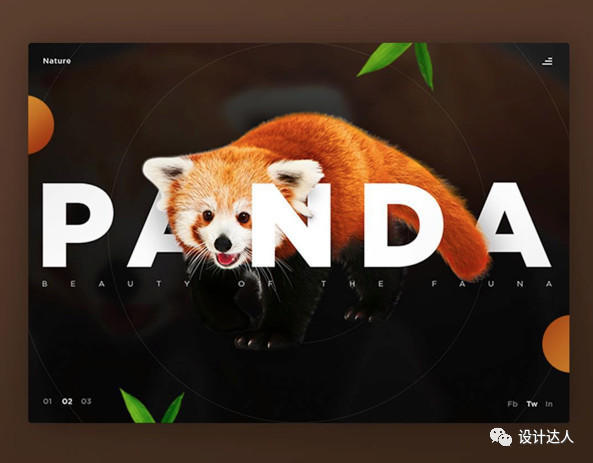
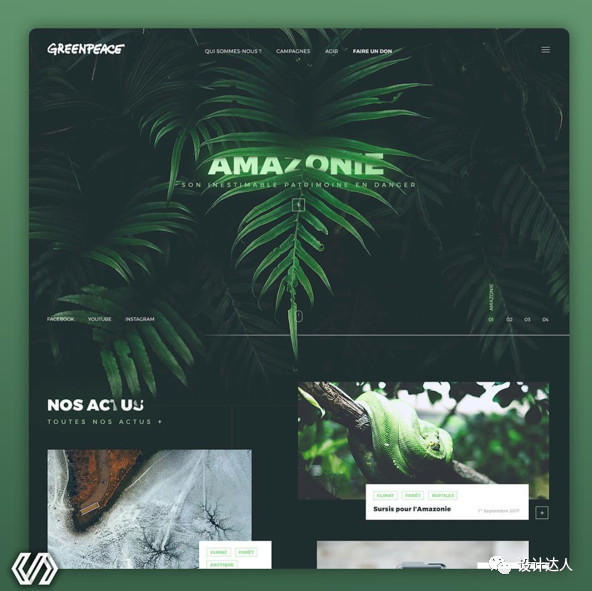
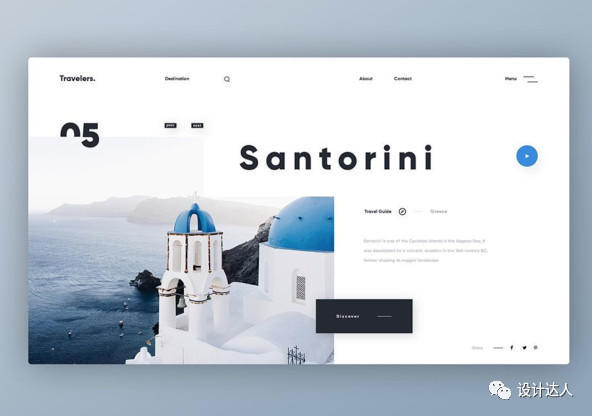
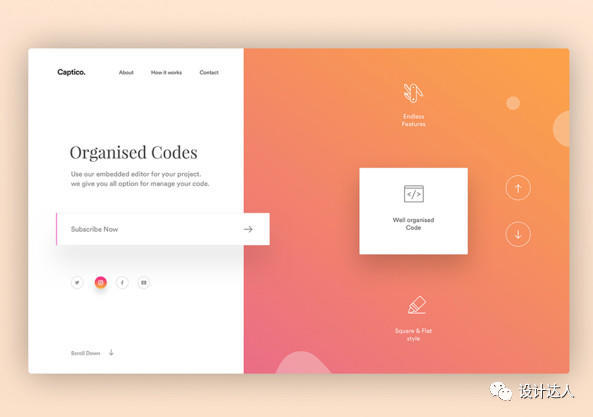
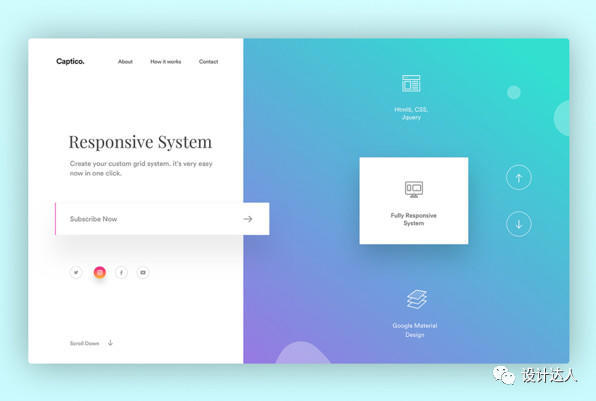
事隔一个月,@dailywebdesign已更新了30+精品网页截图,小编今天再次为大家整理出来,方便大家欣赏,同时也推荐大家看上一期的《26张很棒网页首屏设计作品欣赏》。
PS:这些网页设计案例均来自 Ins 的用户,并非 Dribbble 网站,所以没有对应的作品集页面链接。
Design by: @vladimirbiondic
Design by: @capouska
Design by: @gtamarashvili
Design by: @abaygulov
Design by: Samuel Scalzo
Design by: @ui_ux_joy
Design by: Rono
Design by @rathniley
Design by: @brkrobert

Design by: @kreativa.studio
Design by: @fireart_studio
Design by: Oliwia Przybyla

Design by: @outcrowdstudio

Design by: @tintinsupp

Design by: @ihrvoje
Design by: Catalin Blanaru
Design by: Craig Gittins

Design by: @dannpetty
Design by: @halolabteam
Design by: Chalar Tintin S
Design by: Samuel Scalzo

Design by: @dogstudio_be
Design by: @divan_raj
Design by: @divan_raj

Design by: @outcrowdstudio
Design by: @jan.teschner
Design by: Abhishek Biswas
Design by: Michael Brewer
Design by: Cosmin Capitanu
Design by: @janravendeklerk
Design by: @arendstom
Design by: @capouska
Design by: M S Brar
Design by: @divan_raj
Design by: @syedraju01724
Design by: Yu Long
Design by: @marcocoppeto
Design by: @bestservedbold

Design by: @akasharun4161

蓝蓝设计( www.lanlanwork.com )是一家专注而深入的界面设计公司,为期望卓越的国内外企业提供卓越的UI界面设计、BS界面设计 、 cs界面设计 、 ipad界面设计 、 包装设计
如果您想订阅本博客内容,每天自动发到您的邮箱中, 请点这里
一、什么是用户角色模型(用户画像)?
概念&作用
用户角色模型是真实用户的虚拟代表,通过一系列的真实数据分析,得出的目标用户模型。模型通过抽象来代表复杂的现象,好的模型强调结构的显著关系,弱化不太重要的细枝末节。我们要了解:用户与用户,用户与期望,用户与环境,以及用户与产品之间的关系并且将其视觉化。
这里的视觉化可理解为:海量的数据标签(标签化、数据可视化)。比如我们要统计每个用户的行为特征,细分到人口基本属性、社会属性、生活习惯、消费行为等信息,抽象出各个具体的标签,赋予名字、照片、一些人口统计学要素、场景描述等,最终形成一个人物原型(personas)。
创建用户角色模型的好处
· 与利益相关者、产品团队在研发中抛开个人喜好,聚集在用户动机和行为上,了解用户深层次动机与心理;
(抛开个人喜好:产品团队容易将自己的目标、动机、技巧代入产品设计中,这就是设计者心理模型)
· 避免设计陷阱,让产品设计更聚焦,防止走偏,避免把过多的心思花在其他边缘性功能上
(更聚焦、防止走偏:有人物模型为基准,团队就能清晰的对功能进行优先级排序,以核心功能、解决用户诉求的功能为主,可避免把注意力放在非核心且次要的功能点上。)
· 有助于为营销活动、组织架构、客户支持、战略规划及设计决策 提供有价值的信息。
由什么构成?

显性画像:用户群体的基本信息描述,如目标用户的年龄、性别、职业、地域分布、兴趣爱好等信息,一般通过客服人员线上交流、用户账号数据、常关注的内容做判断,间接获取数据;
隐性画像:用户群体深层次的特征描述,如使用产品的目的、解决什么问题、偏好、诉求、场景、愿景、使用频率等。主要以问卷、访谈、意见反馈等方式直接获得数据。
说到底,用户画像就是先对逐个有代表性的用户进行特征描述,然后对共性特征进行提炼、分类,最终将用户标签化、数据可视化。

二、用户画像构建的基本流程
用户角色模型不是拿来既用、用完即丢的,而是建立在系统的调研分析、真实的数据统计之上得出的有力结论。
这里要考虑用户画像的优先级,画像一般会存在多个(多个用户),通常一个用户只能有一个,不能为拥有三个以上画像的用户设计产品,容易产生需求冲突,要分清楚哪些是核心用户(既目标用户、产品的支撑者),哪些是非核心用户,所以我们的设计目标就是维护、培养、促成核心用户。
同时要以适合产品团队和项目需求为出发点,用户画像不是一成不变的,而是根据现实情况同步更新,现在我们进行四步画像构成法:

1、确定分析维度
用户角色模型是针对特定产品或特定功能的,所以人物角色的分类一般是根据用户的目标(用户需求)、行为和观点(行为倾向)进行。
举例:
目标?什么原因促使你使用该产品?解决你什么问题?
观点?产品中最喜欢的功能?为什么喜欢?是否达到了你的预期?
行为?你最近一次使用产品做了什么?用了多久?
下面以2个维度做参考:

2、基础数据收集
数据是有力证据,是构建用户画像的核心依据,在基础数据收集方面,可以先列举出构建用户画像所需要的基础数据。
具体的思路如下:

上面列举的数据纬度相对比较多,在构建用户画像过程中可根据需求进行筛选。
这些数据有三个来源:相关文献资料和研究报告、产品数据后台、问卷调研和用户访谈,可以按照以下维度区分:

(这里涉及到用户研究中重要的环节:用户访谈、数据收集,将归纳为单独的知识点于下篇文章分享,期待有你~)
3、分析建模
通过以上收集方式并成功采集后,下面开始对不同的角色进行分类(通常采集多个用户做参考,如单个用户可直接将其标签化,然后套入完整模型中)
(1)先确定好产品属性,按照用户角色进行分类,比如外卖APP有:商家、消费者、骑手 三种角色,图例:

(2)然后将角色内的用户身上观察到的一些显著的行为列出不同的几组行为变量,例如:对产品的积极性、热情度、学习能力、熟练程度、消费观等。
(3)将访谈对象和行为变量对应起来
这里就以电商产品为例,将用户个性(行为变量)做成一个区间轴,再把访谈对象放到区间轴上面对应起来,不需要那么,标出相对位置即可
注意:行为变量有两种情况
· 一种是连续性,比如使用频率的描述是:经常到从不
· 另一种则是非连续性,比如使用的平台:移动端、PC端
对这两种情况,大家要视情况而定,图例:

(4)找出重要的行为模式
把对象映射完后,寻找在变量轴上的对象群。如果一组对象聚集在6~8个不同的变量上,这很可能代表一种显著地行为模式,而这个模式是构角色模型的基础,图例:

三、画像呈现
找出行为模式后,画像呈现即从显性画像、隐性画像、场景和需求等方面,给用户打标签,并且增加一点描述性语言(描述人物行为和痛点,而不是描述解决方案),图例:

四、总结
(1)确定分析维度:当前产品处于什么阶段?需要什么信息?
(2)基础数据收集:对目标用户进行访谈,收集相关数据
(3)分析行为模式:将访谈对象和行为变量对应、找出重要的行为模式
(4)整理并呈现画像:描述特征和行为,创建人物故事
聊到这里可能有人会问:
Q:用户模型做出来会不会有人看?它是不是设计者虚构出来的套路?
A:用户角色模型是设计者通过用户访谈和观察得出来的真实用户行为,是有真实数据为依据的,所以不进行大量的用户调研,不为用户建模,不去创建用户模型,只知道意淫需求,说着“我认为该怎么怎么做”,都是一本正经地耍流氓。用户研究、用户模型是我们做好产品的基础和风向标。
Q:用户角色模型到底什么时候开始做?
A:先确定目标用户 → 对目标用户进行访谈 → 访谈后再建立用于模型
蓝蓝设计( www.lanlanwork.com )是一家专注而深入的界面设计公司,为期望卓越的国内外企业提供卓越的UI界面设计、BS界面设计 、 cs界面设计 、 ipad界面设计 、 包装设计 、 图标定制 、 用户体验 、交互设计、 网站建设 、平面设计服务。
如果您想订阅本博客内容,每天自动发到您的邮箱中, 请点这里
一周前,为了听《梦想的声音》,我在APP Store 下载了QQ音乐,无意中发现「音乐」类APP里排行第9的 MOO音乐,它的预览图让我联想到这些关键词:「小众、独特、欧美、Spotify、Apple Music」。笔者之所以从品牌设计的角度分析这个鹅厂家族新成员,是因为一款新产品的品牌设计在产品从0-1过程中扮演非常重要的角色,它关系到用户对新产品的认知与心智。
体验完 MOO音乐,我发现:移动产品品牌设计不仅要充分考虑视觉表现层,还要综合考虑战略、理念、内容、交互等多个方面。
同时,品牌设计是一种「求同存异」,「同」是保持对战略、内容、用户习惯的继承性,而「异」是相比竞品作出的差异化设计。本文就从继承性和差异化,这两个维度为你分享 MOO音乐的品牌设计。希望这种分析方法能够为你的品牌设计提供帮助。
从启动图标和界面很容易看出,MOO音乐的品牌主色是黄色,背景色及辅助色基本是以黑白灰为主。
MOO音乐之所以采用这种配色方案,不仅是为了突出产品氛围,让人眼前一亮,还有可能是对腾讯新形象IP品牌的一种继承和延续。
怪奇鹅IPENGOO,腾讯集团新一代形象IP品牌,代表着一种自我突破,不断创新的精神状态。
我们希望能像魔术师一样,以经典企鹅形象上提炼出的极简鹅脸元素,为大家创造出充满趣味、创新、时尚和脑洞的产品风格和内容,能唤醒每个用户自动发出好感电波是一件很棒的事情!——怪企鹅IPENGOO官微
每位音乐家都不是一颗孤独的星球,他们保持独立又彼此相连,在他们的探索下,音乐潮流才不断推陈出新又一脉相承。
保持探索,对先锋与经典抱以同样的敬意,所以我们创造了MOO:音乐即自由
MOO Music,Life is MOOO beautiful。——APP Store MOO音乐介绍

IPENGOO(怪企鹅)的理念是:
可见,「连接、传递、突破、创新」这些新形象IP理念在 MOO音乐的启动图标、品牌理念、交互手法、推荐歌单上都有所体现。
因此,MOO音乐很可能是腾讯新形象IP品牌影响力里的一种尝试。
此外,MOO音乐的品牌色也很有可能是对腾讯旗下年轻娱乐产品品牌色的一种继承。

Sympathize(体察和同理心),可以帮助我们去理解事物表面背后的本质,得到和理解设计的微妙细节,这些本质自然的元素不只是逻辑上的,更是可以被感受的。——深泽直人
说到音乐本质、自然的元素(不是曲风),我们会联想到黑胶、唱片、专辑、音波、调音台、乐器、Live、乐谱、Launchpad等。这些音乐元素能拉近 APP 与用户之间的距离,营造沉浸式的听歌体验,从而提升产品的同理心。
比如专辑封面的轻拟物化设计,播放时音波的、背景图片和短视频等等。

当我们在为一款新产品设计交互时,需要充分考虑目标、场景、用户这些基本因素。我们通常会考虑并兼顾多数目标用户的使用行为和习惯,为新产品设计交互方式。
所以当用户看到熟悉的元素时,会很自然地知道如何去使用,降低了新产品的学习成本,这就是我们所熟悉的「Don’t make me think」。
MOO音乐的首页PLAY页,采用的是音乐+短视频(有时候是图片)的方式,当很多用户看到这种熟悉的界面形式时,已经本能的去上下翻页、单击播放/暂停,左右滑动调整进度更是再熟悉不过。

另外,MOO音乐的歌单在产品初期功能里占据了很大篇幅,因为最契合用户听歌行为场景的是歌单。
说完 MOO音乐在品牌设计方面保持的继承性,下面来说说它不同于竞品的差异化设计,主要表现在品牌理念、视觉氛围、交互手法。
从 APP 的这4张欢迎页就可以看出 MOO音乐的品牌理念和调性了:经典、创新、前卫、独立。

从目前的版本来看,MOO音乐还是一款满足小众口味、专注听歌的音乐APP,但 APP 通过4张有代表性的欢迎页,将 APP的「小众」设计得「出众」,很好地表达了产品的品牌理念。
说到产品品牌的差异化,不得不说视觉层面的设计,毕竟视觉表现层是用户体验5要素里最具体的。
MOO音乐提供两套视觉风格,默认是品牌黄色+BLACK,另一套则是品牌黄色+WHITE,笔者觉得默认的 BLACK 更有特色和沉浸感。
字体风格方面,标题类文字(PLAY、DISCOVER、FEATURELIST、ALBUM、VIDEO、VIDEOLIST)都是大写的非衬线英文字体,欧美范十足。

调整进度的交互
主流音乐APP,是通过一个进度条和一个圆点来调整播放进度,而 MOO音乐将播放页面下方声波区域作为调整进度的热区,通过明暗的对比来表现播放进度。
虽然这种交互方式在腾讯自家短视频微视APP 中也存在,但 MOO音乐还是作了细节上的处理。

切歌的交互
通常情况下,在音乐APP 播放页面的其他页面,都有一个控件让你随时可以切歌,甚至是收藏,查看播放列表。
MOO音乐将切歌控件设计成了黑胶+滑块,切歌时只需向右滑动,而且 iOS系统还会伴随震动反馈。这个微交互设计得蛮有意思,这让我联想到胶卷相机拍完一张,然后拨动卷片扳手的机械反馈感。

目前 MOO音乐在 APP Strore 里才第2个版本,细节上的体验不可能一步到位。
笔者借此机会向开发者提一点个人的建议,仅供参考。
希望当前播放的歌曲与背景短视频或图片有一定的关系,比如系统可以根据歌曲的曲风、类别等标签,自动推荐匹配相关短视频和图片,让歌曲与背景环境更协调。当然,也可以让用户自己设置推荐或随机。
在 PLAY页面切下一首歌时,希望显示歌曲正在加载的状态,底部的音波区域好像可以作一些文章。
(iOS)歌曲评论页里的评论输入框常驻在页面底部,但视频评论页的评论输入框没有常驻,而且滑到底部时,不太容易滑到顶部,可能是小BUG。

(Android)轻触切歌控件里的暂停按钮后,黑胶旋转的角度被重置了。希望能与 iOS版一样,暂停后黑胶旋转的角度不被重置。

APP 默认的会员价格是18元/月,若勾选了到期自动续费,则价格是15元/月。
虽然这2个价格都不便宜,但相对来说,自动续费的价格更有吸引力,但这个相对有吸引力的价格却需要用户主动勾选「自动续费」才能看到。笔者建议将这2种价格都显示出来,通过单选按钮的形式去交互。这样,用户很容易就会发现自动续费的价格优势,毕竟与18元相比,15元就不怎么贵了。

MOO音乐于11月初发布在 APP Store,网络上比较多的评价是「抄抖音、抄乐趣、抄Spotify、鹅厂又抄了……」。
但作为设计师,笔者希望我们将关注点放在设计层面,去客观的评价一款APP,不要因为别人的评价而忽略了一些有品质的设计。
当我们仔细体验交互和视觉的细节后,会发现鹅厂的设计是有很多地方值得我们学习的。
最后,面对主流音乐APP、短视频APP、Spotify、Apple Musici、乐趣……MOO音乐既做到了对腾讯新形象IP、音乐元素、用户习惯的继承性,又做出了一些不同于竞品的差异化设计。这套「组合拳」已经打出了这款音乐APP 的品牌形象,希望这些内容对你有启发。
蓝蓝设计( www.lanlanwork.com )是一家专注而深入的界面设计公司,为期望卓越的国内外企业提供卓越的UI界面设计、BS界面设计 、 cs界面设计 、 ipad界面设计 、 包装设计 、 图标定制 、 用户体验 、交互设计、 网站建设 、平面设计服务。
如果您想订阅本博客内容,每天自动发到您的邮箱中, 请点这里
这是一个以故事形式来展现网站:Oat the Goat,动画很有感觉,虽然小编目前的水平还做不出这类网站,但看看也可以增加点灵感、阅历,原来网站还能这样做的,一个网站,一个温暖的故事,来一起欣赏电影般的酷站,Enjoy!
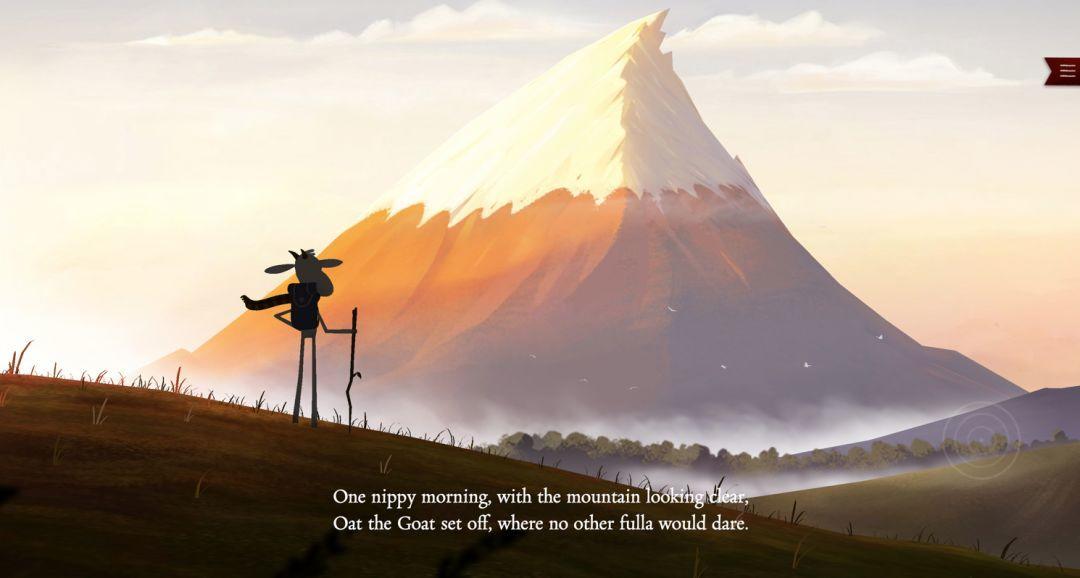
网站名称:Oat the Goat
网站地址:http://oatthegoat.co.nz/
(请在PC端欣赏,浏览该网站时记得打开声音哦~)
故事是从一只羊咩咩的历险开始,他翻山越岭,途中遇到一些困难和遇到困难的小伙伴们,接着一起去克服,然后越来越多的小伙伴们一起去冒险,经过重重险阻,最终…… (还在让大家自己欣赏才有 Feel 的)

所有的画面非常的漂亮,就像在看电影一样,同时网站还带有一至交互体验,让用户去选择。

截图:羊咩咩遇到第一个有困难的小伙难了哦,我们继续看看……

截图:要选择你要怎么做了
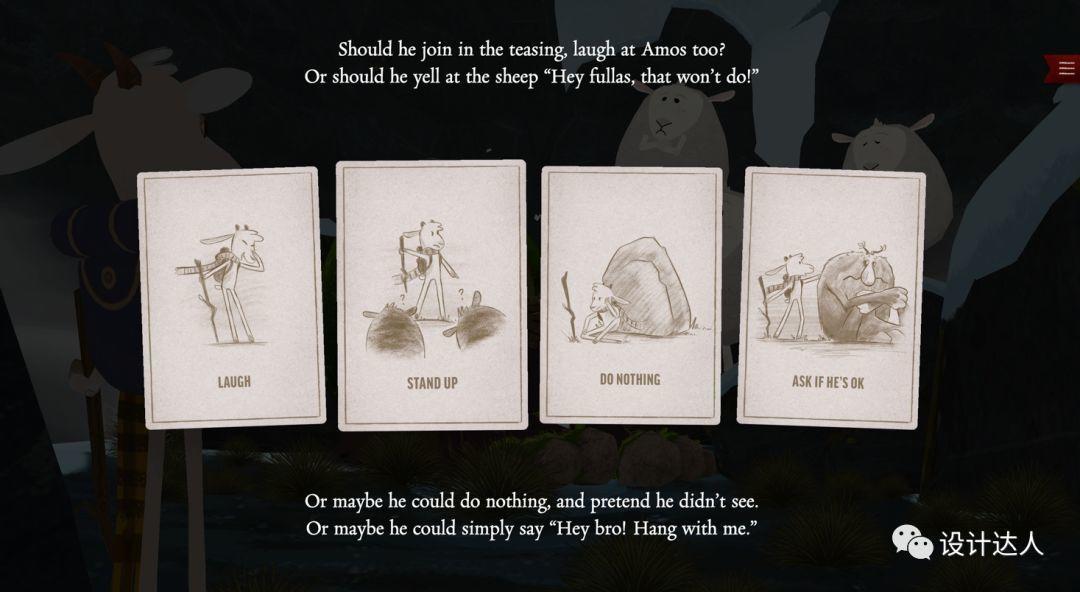
故事结局如何?请自行观赏,同时您可以在下方评论处说出你的想法:)
蓝蓝设计( www.lanlanwork.com )是一家专注而深入的界面设计公司,为期望卓越的国内外企业提供卓越的UI界面设计、BS界面设计 、 cs界面设计 、 ipad界面设计 、 包装设计
蓝蓝设计的小编 http://www.lanlanwork.com